Configuration
The device can operate in two modes and must be in configuration mode in order for the web
server to be active. The device (esp) LED will flash slowly or show blue color when the device
is in configuration mode. If the LED is constantly or show white color then the device is in
WIFI setup mode. Some boards have a LED that can change color.
One of the following conditions will place the device in configuration mode:
Sleep mode has been disabled in the web interface
Charger connected >4.15V (or the value that is configured). This does not work on the Floaty variant due to lack of hardware support.
The two designated GPIO pins are connected
Home page
URL: (http://pressmon.local)
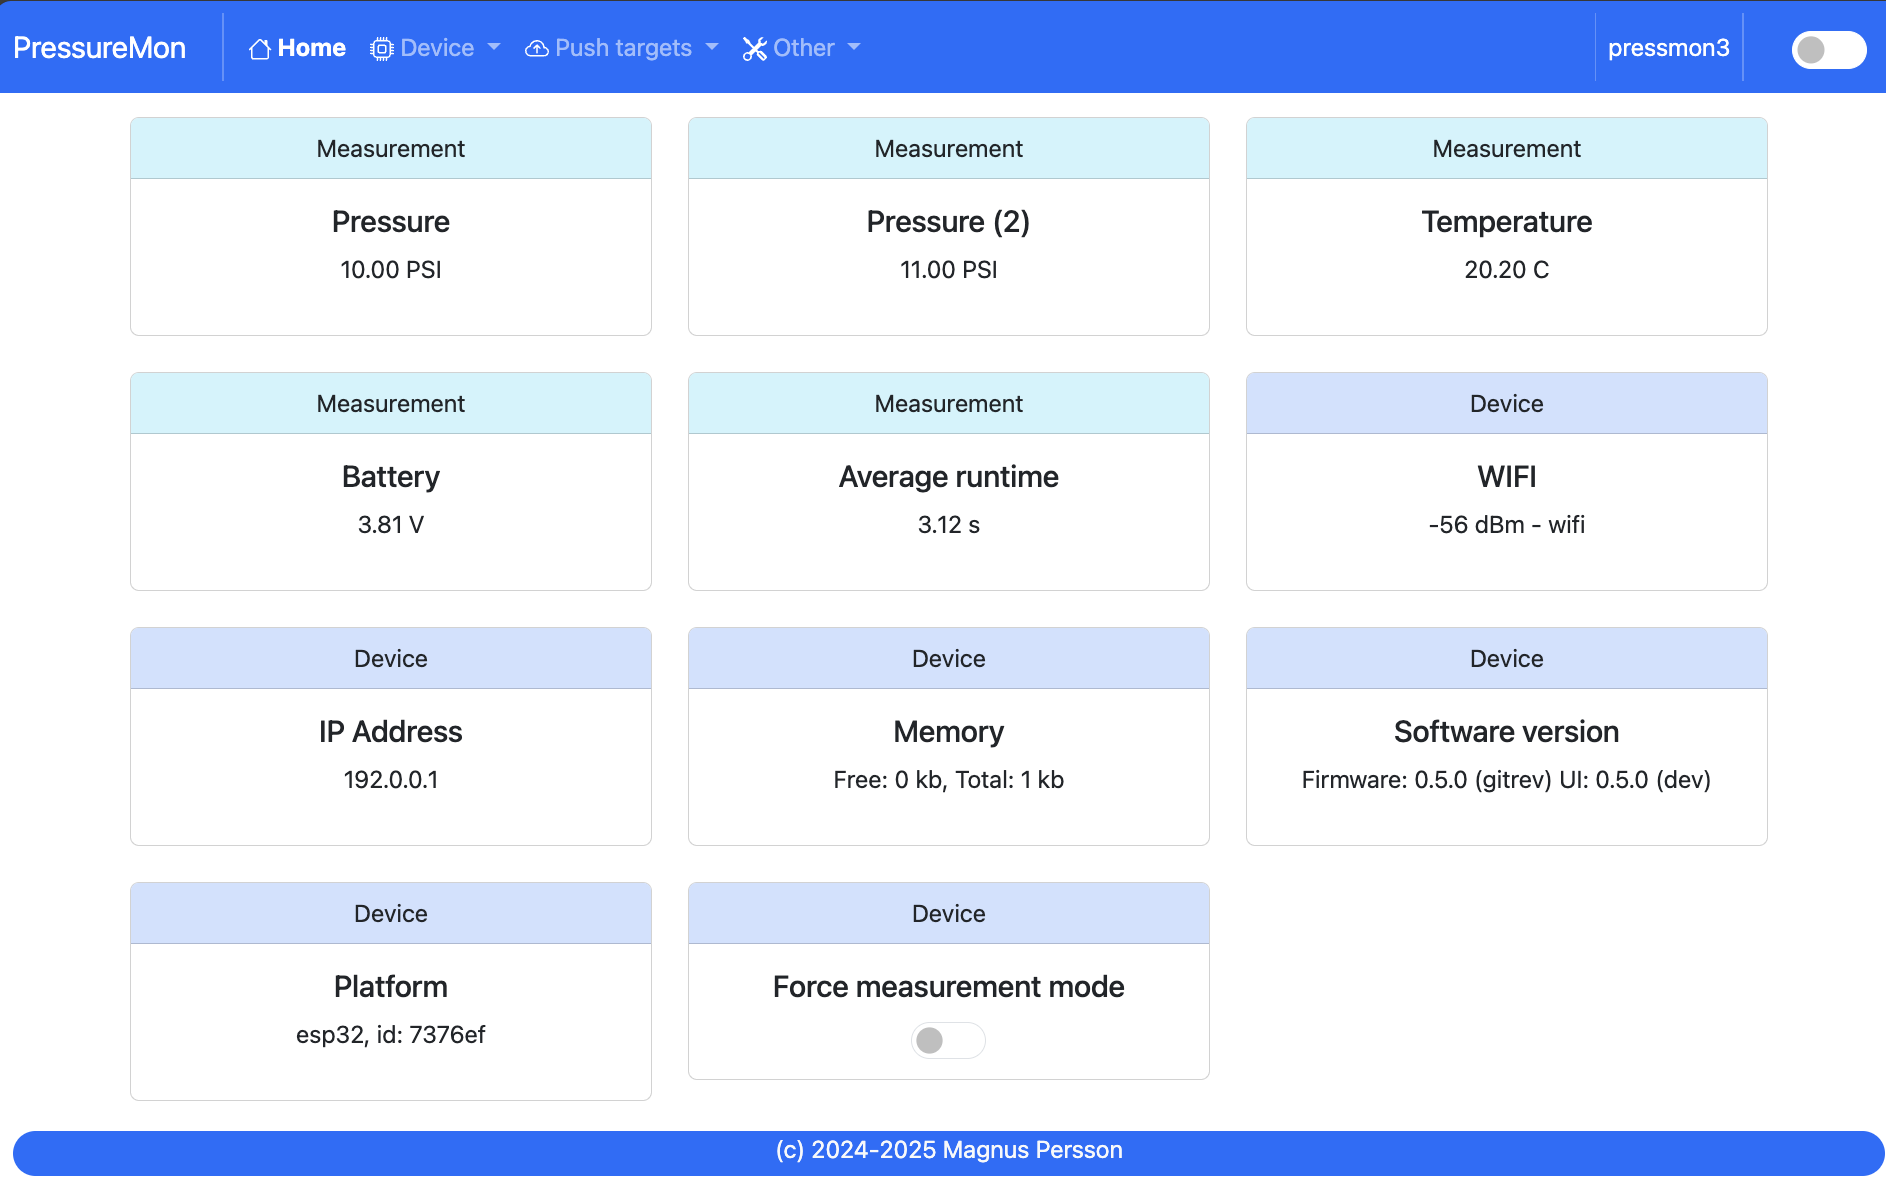
Configuration is accessed by entering the URL for the device, this will be the mDNS name device.local or the IP address. The following chapter assumes the device name is pressmon.
If the device is not fully configured or there are some hardware issues then these will be visible on the main page. If there are things to adress this will be indicated in the meny using a red dot.
The main page shows the device readings; pressure, temperature and battery charge. If the checkbox is active then the device will never go into sleep mode. If this is unchecked the device will change mode as explained before.
You can also view the average time a pressure measurement takes. Under optimal setting this should be around 1.5 - 2.0 seconds. If this is higher than 2 seconds this is most likely connected to slow wifi connection. It will show 0 if data has not been collected yet.
Tip
If you are connected to the device via a serial console (speed: 115200) you can see the connection sequence and get the Unique ID and IP address from there.
Device
Device - Settings

MDNS:
This is unique name for the device. It will be used in pushing data as well as mDNS name on the network (<name>.local). The limitation is 63 chars but using long names might break endpoints that data is sent to if they have other limitations.
Temperature format:
Choose between Celsius and Fahrenheit when displaying temperature.
Pressure format:
Pressure format can be either PSI, Bar or kPa. The device will use PSI Internally and convert to other when displaying or sending data.
Dark Mode:
Switches the UI between light and dark mode. You can also use the toggle on the menubar for that.
Factory default
This function will reset all settings to factory default. Use with caution!
Restart
Restarts the device, similar to pressing the reset button
Device - Hardware
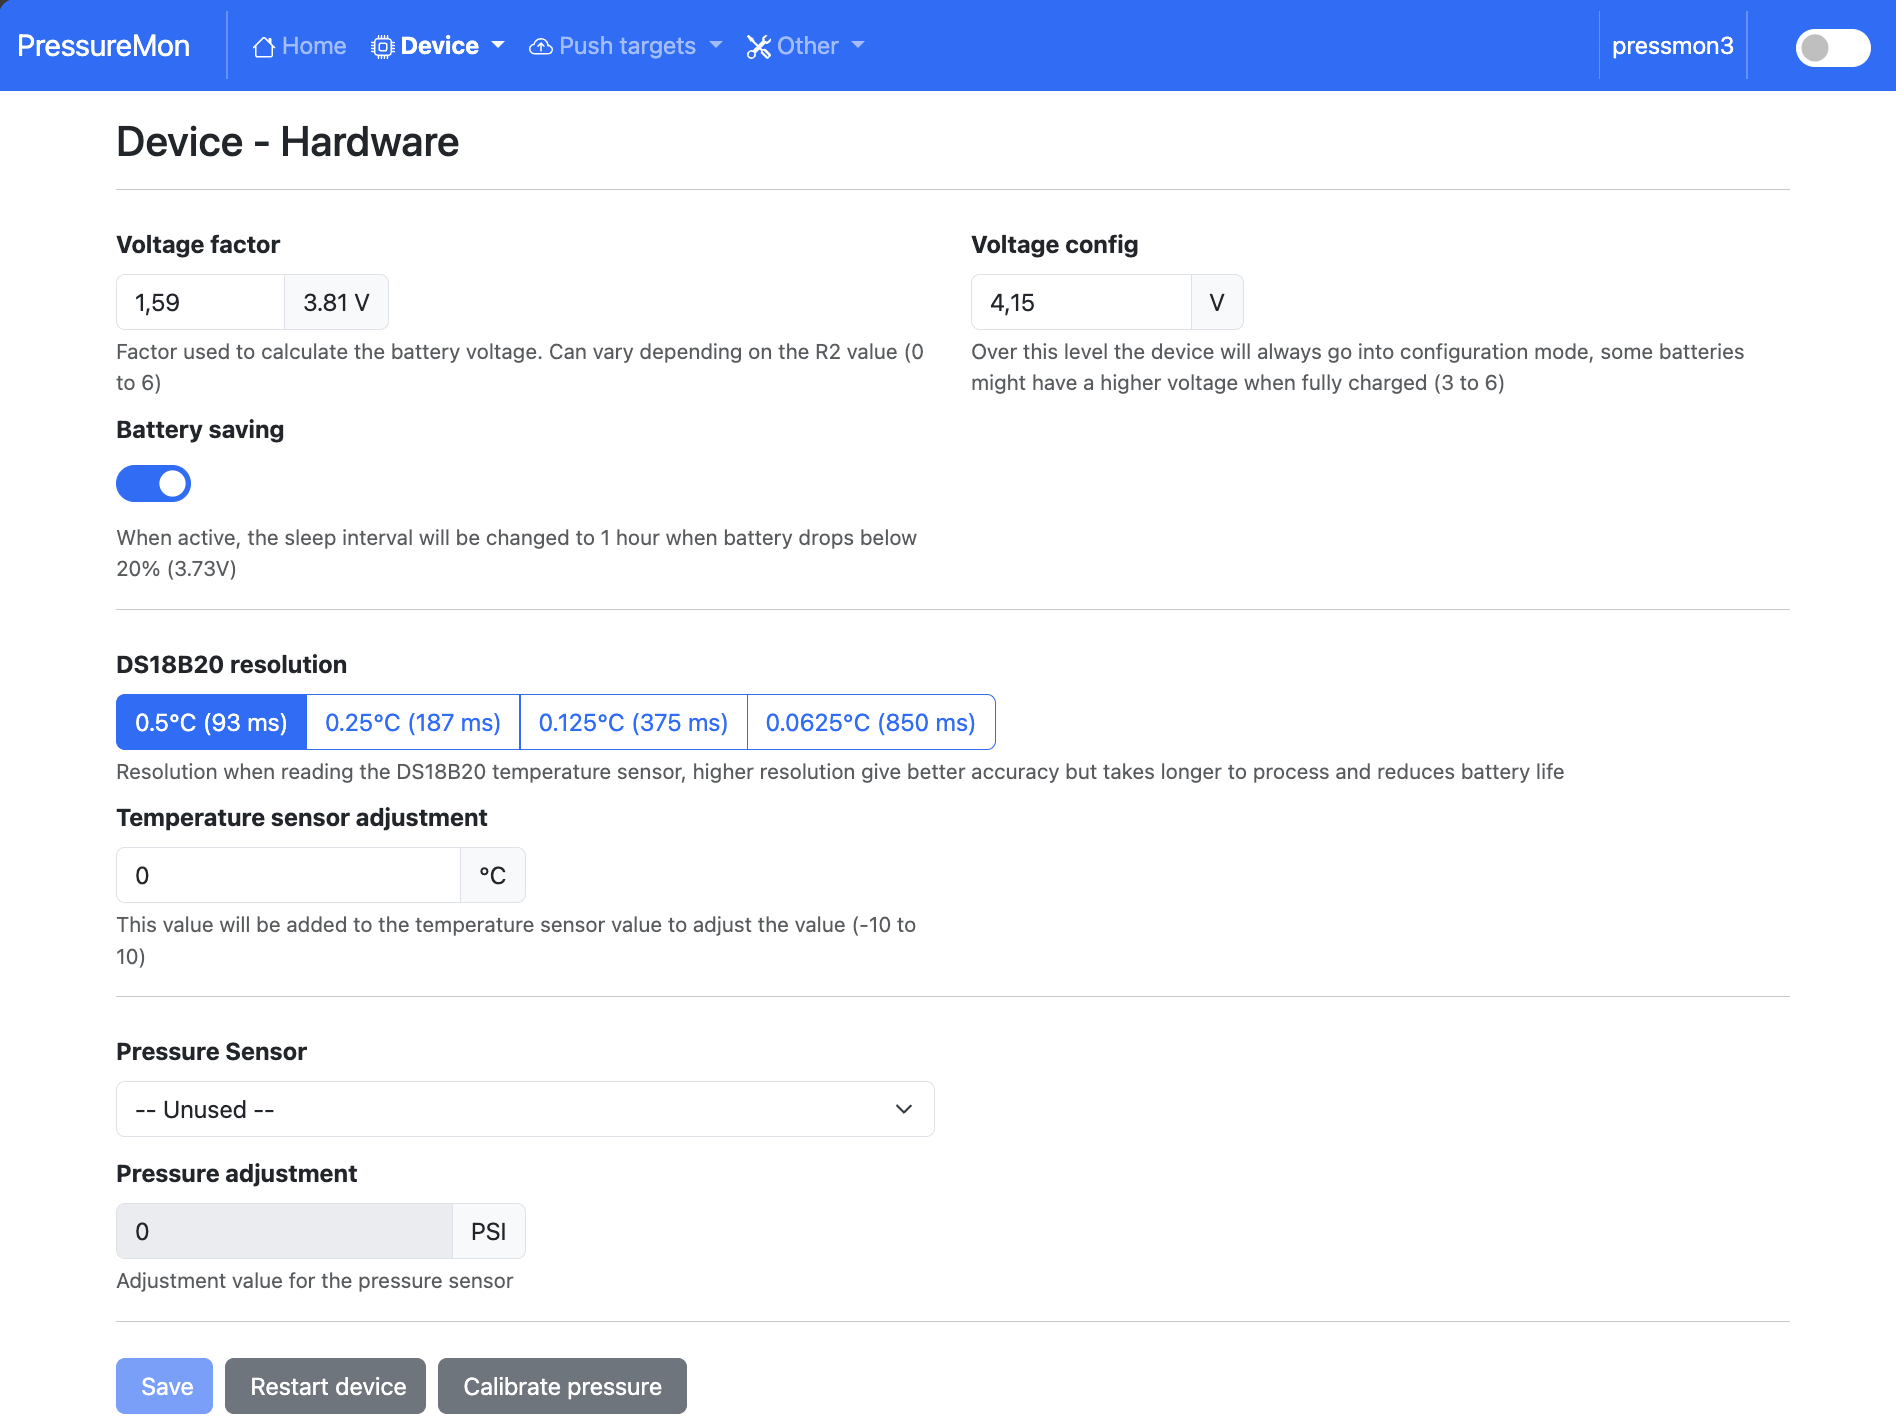
Voltage factor:
Factor used to calculate the battery voltage. If you get a too low/high voltage you can adjust this value.
Config voltage:
Defines the level of voltage when the device should enter config mode due to charging. This might vary between different battery manufacturers. If you don’t what the device to go into configuration mode when charging, set this to 6V. This was added since different batteries have different voltages when fully charged.
Battery saving:
If this option is checked the sleep interval will be changed to 1 hour when battery drops below 20%. Default = on.
DS18B20 Resolution:
Define the resolution used on the temp sensor. 9 bits is default and will give an accuracy of 0.5C and and provide longest batterylife. See data below from the datasheet.
9 bits = 0.5°C, up to 93 ms reading
10 bits =0.25°C, up to 187 ms reading
11 bits = 0.125°C, up to 375 ms reading
12 bits = 0.0625°C, up to 850 ms reading
Temperature sensor adjustment:
This value will be added to the temperature reading (negative value will reduce temperature reading). This is applied when the device starts. So changing this will not take affect until the device is restarted.
Battery type:
Choose the type of battery beeing used, LiPo or LithiumIon (18650). These are both supported by the charging module but have different characteristics when calculating remaning voltage.
Pressure Sensor:
Choose the pressure sensor that will be used
Pressure calibration values:
This can be used to calibrate the pressure sensor so it shows the delta pressure.
Analog sensor MinV:
When using a custom analog sensor enter the voltage that corresponds to the min pressure in kPa.
Analog sensor MaxV:
When using a custom analog sensor enter the voltage that corresponds to the max pressure in kPa.
Analog sensor Min Pressure (kPA):
When using a custom analog sensor enter the min pressure in kPa.
Analog sensor Max Pressure (kPA):
When using a custom analog sensor enter the max pressure in kPa.
Device - WIFI
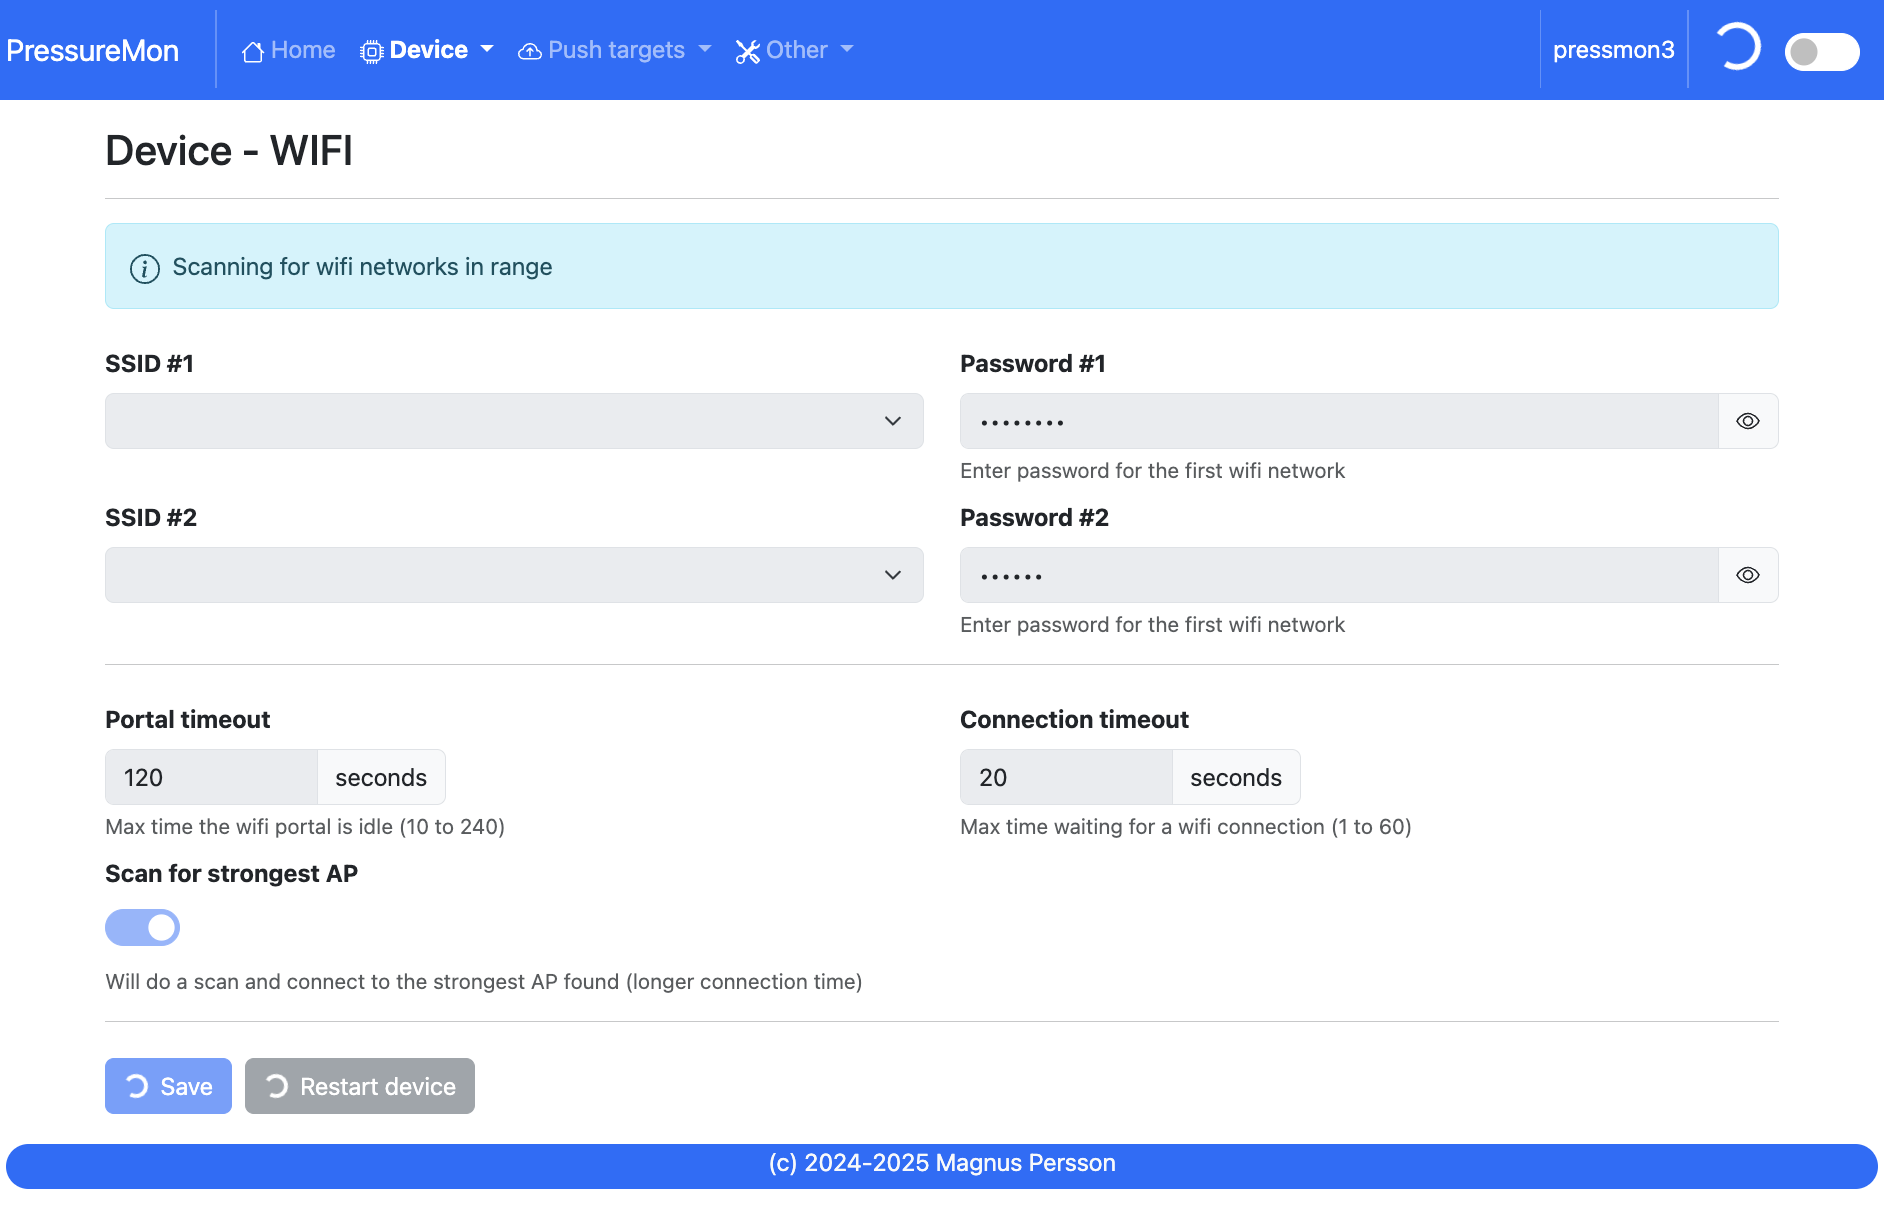
SSID #1:
Select the desired primary SSID to use.
Password #1:
Enter the primary password.
SSID #2:
Select the desired secondary SSID to use (optional).
Password #2:
Enter the secondary password (optional).
Portal timeout:
If the wifi portal is triggered (can be triggered by tapping the reset button 2-3 times within 3 seconds) then this is the amount of time allowed before it exists again.
Connect timeout:
This is the amount of time allowed for a wifi connect.
Push targets
Push - Settings
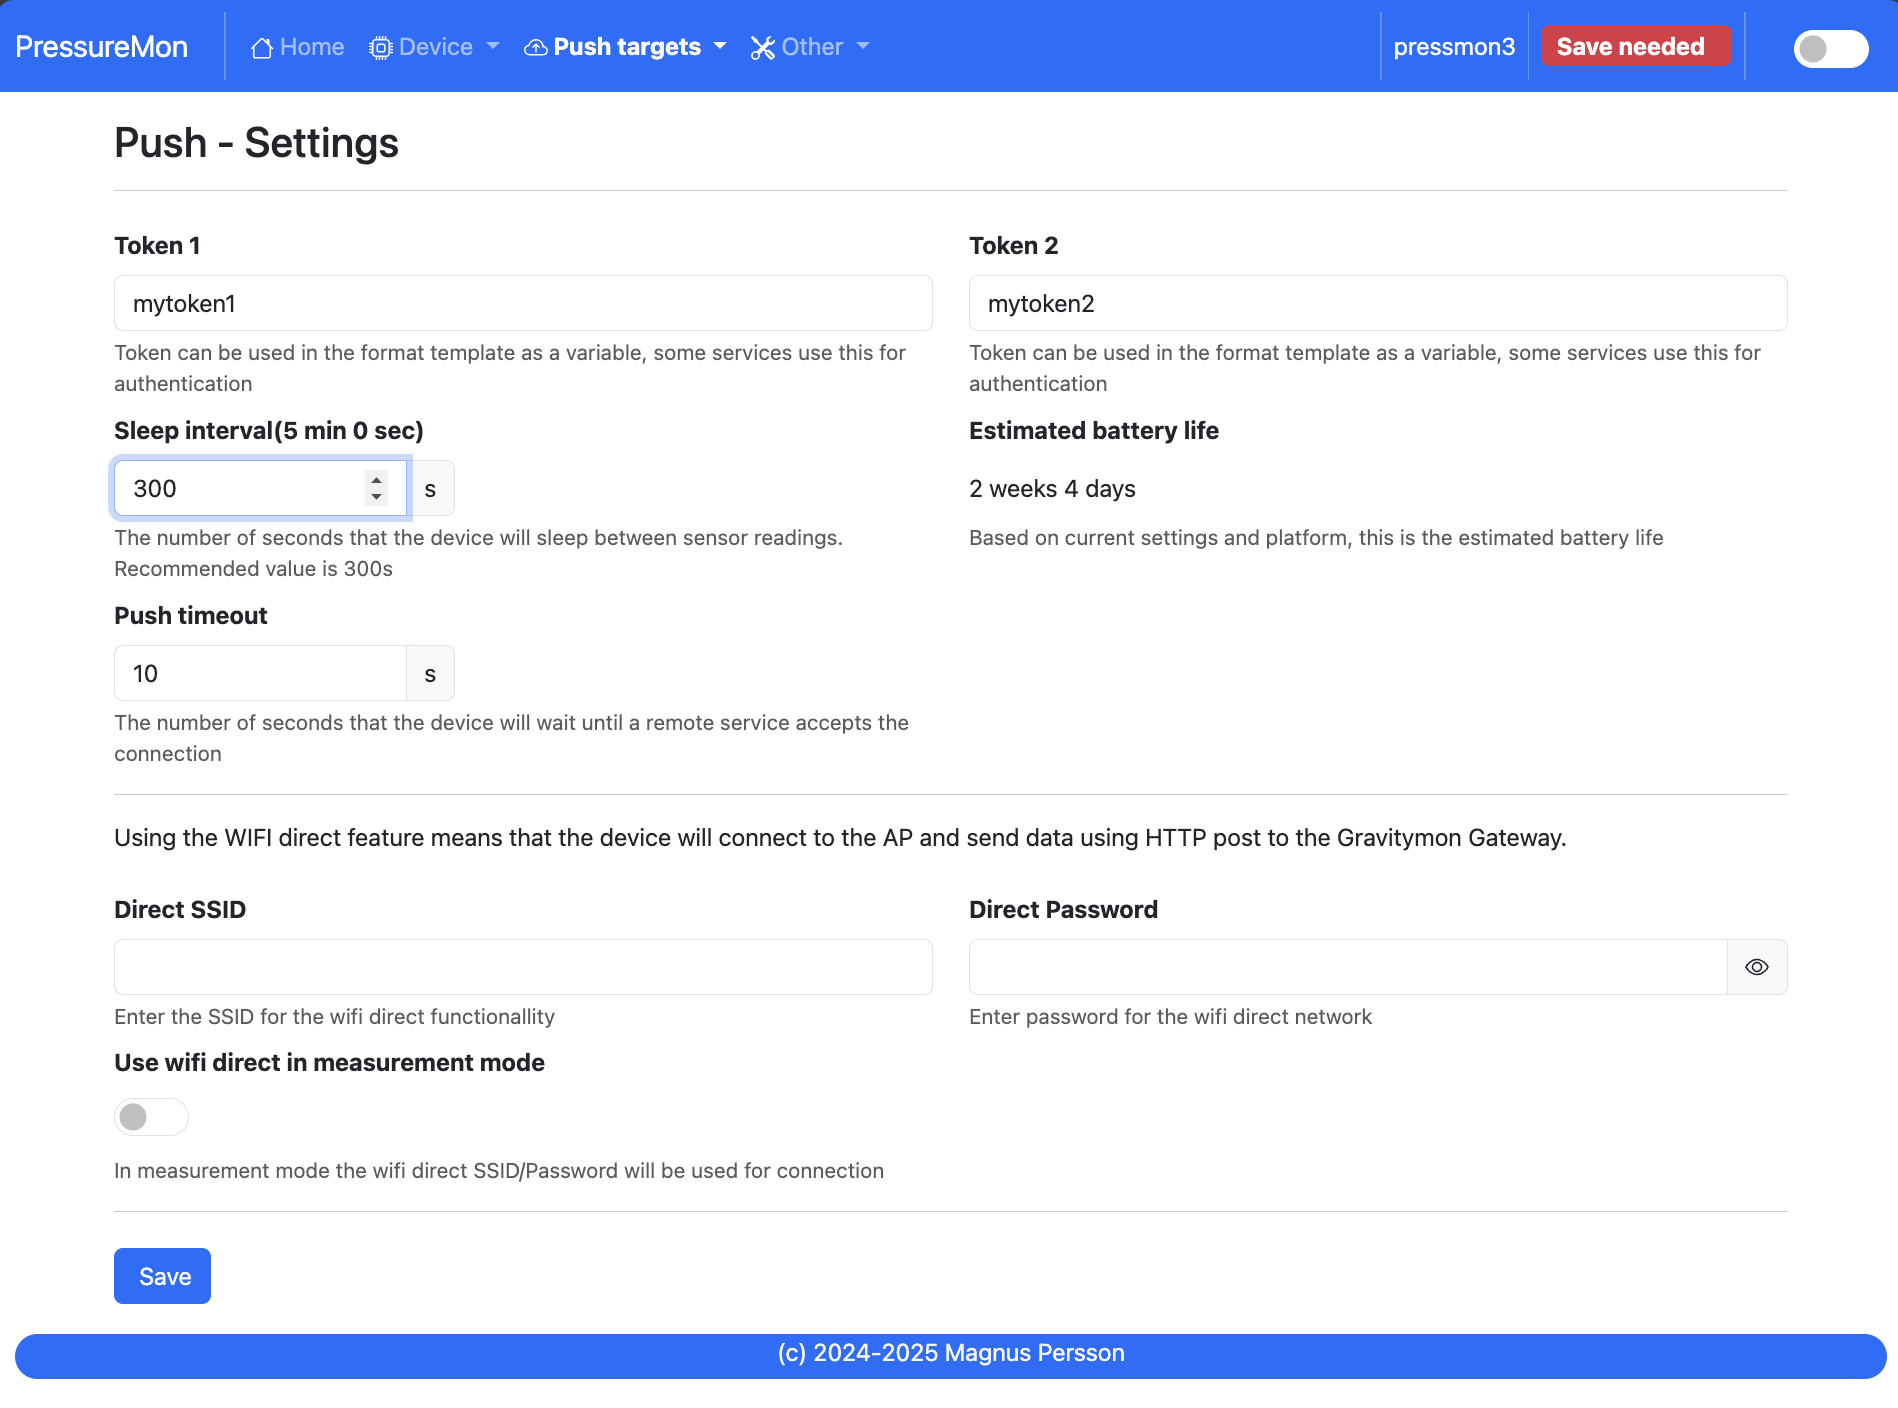
Token 1:
The token is included in the iSpindle JSON format and will be used for both HTTP targets. If you need to have 2 different tokens you can customize the data format.
Token 2:
The token is included in the default format for the HTTP GET url but can be used for any of the formats. For HTTP GET use can use this for an authorization token with ubidots api.
Sleep Interval:
This defines how long the device should be sleeping between the readings when in gravity monitoring mode. You will also see the values in minutes/seconds to easier set the interval. 900s is a recommended interval. The sleep interval can be set between 10 - 3600 seconds (60 minutes).
Note
A low value such as 30s will give a lifespan of 1-2 weeks and 300s (5 min) would last for 3+ weeks. This assumes that there is good wifi connection that takes less than 1s to reconnect. Poor wifi connection is the main reason for battery drain. The device will show the estimated lifespan based on the average connection time, if no data exist it will not be shown.
WIFI Direct SSID:
This WIFI SSID will be used during gravity mode to send data to the GravityMon Gateway.
WIFI Direct Password:
This WIFI Password will be used during gravity mode to send data to the GravityMon Gateway.
Use WIFI Direct in gravity mode:
Enabling this feature will disable all other push target settings and data will be sent to the gateway in a pre-defined format (iSpindle format) when in gravity monitoring mode.
Estimated battery life:
Based on the hardware and the historical execution time the device will estimate how long it can run on a full battery with the current interval.
Push timeout:
How long the device will wait for a connection accept from the remote service.
Push - HTTP Post
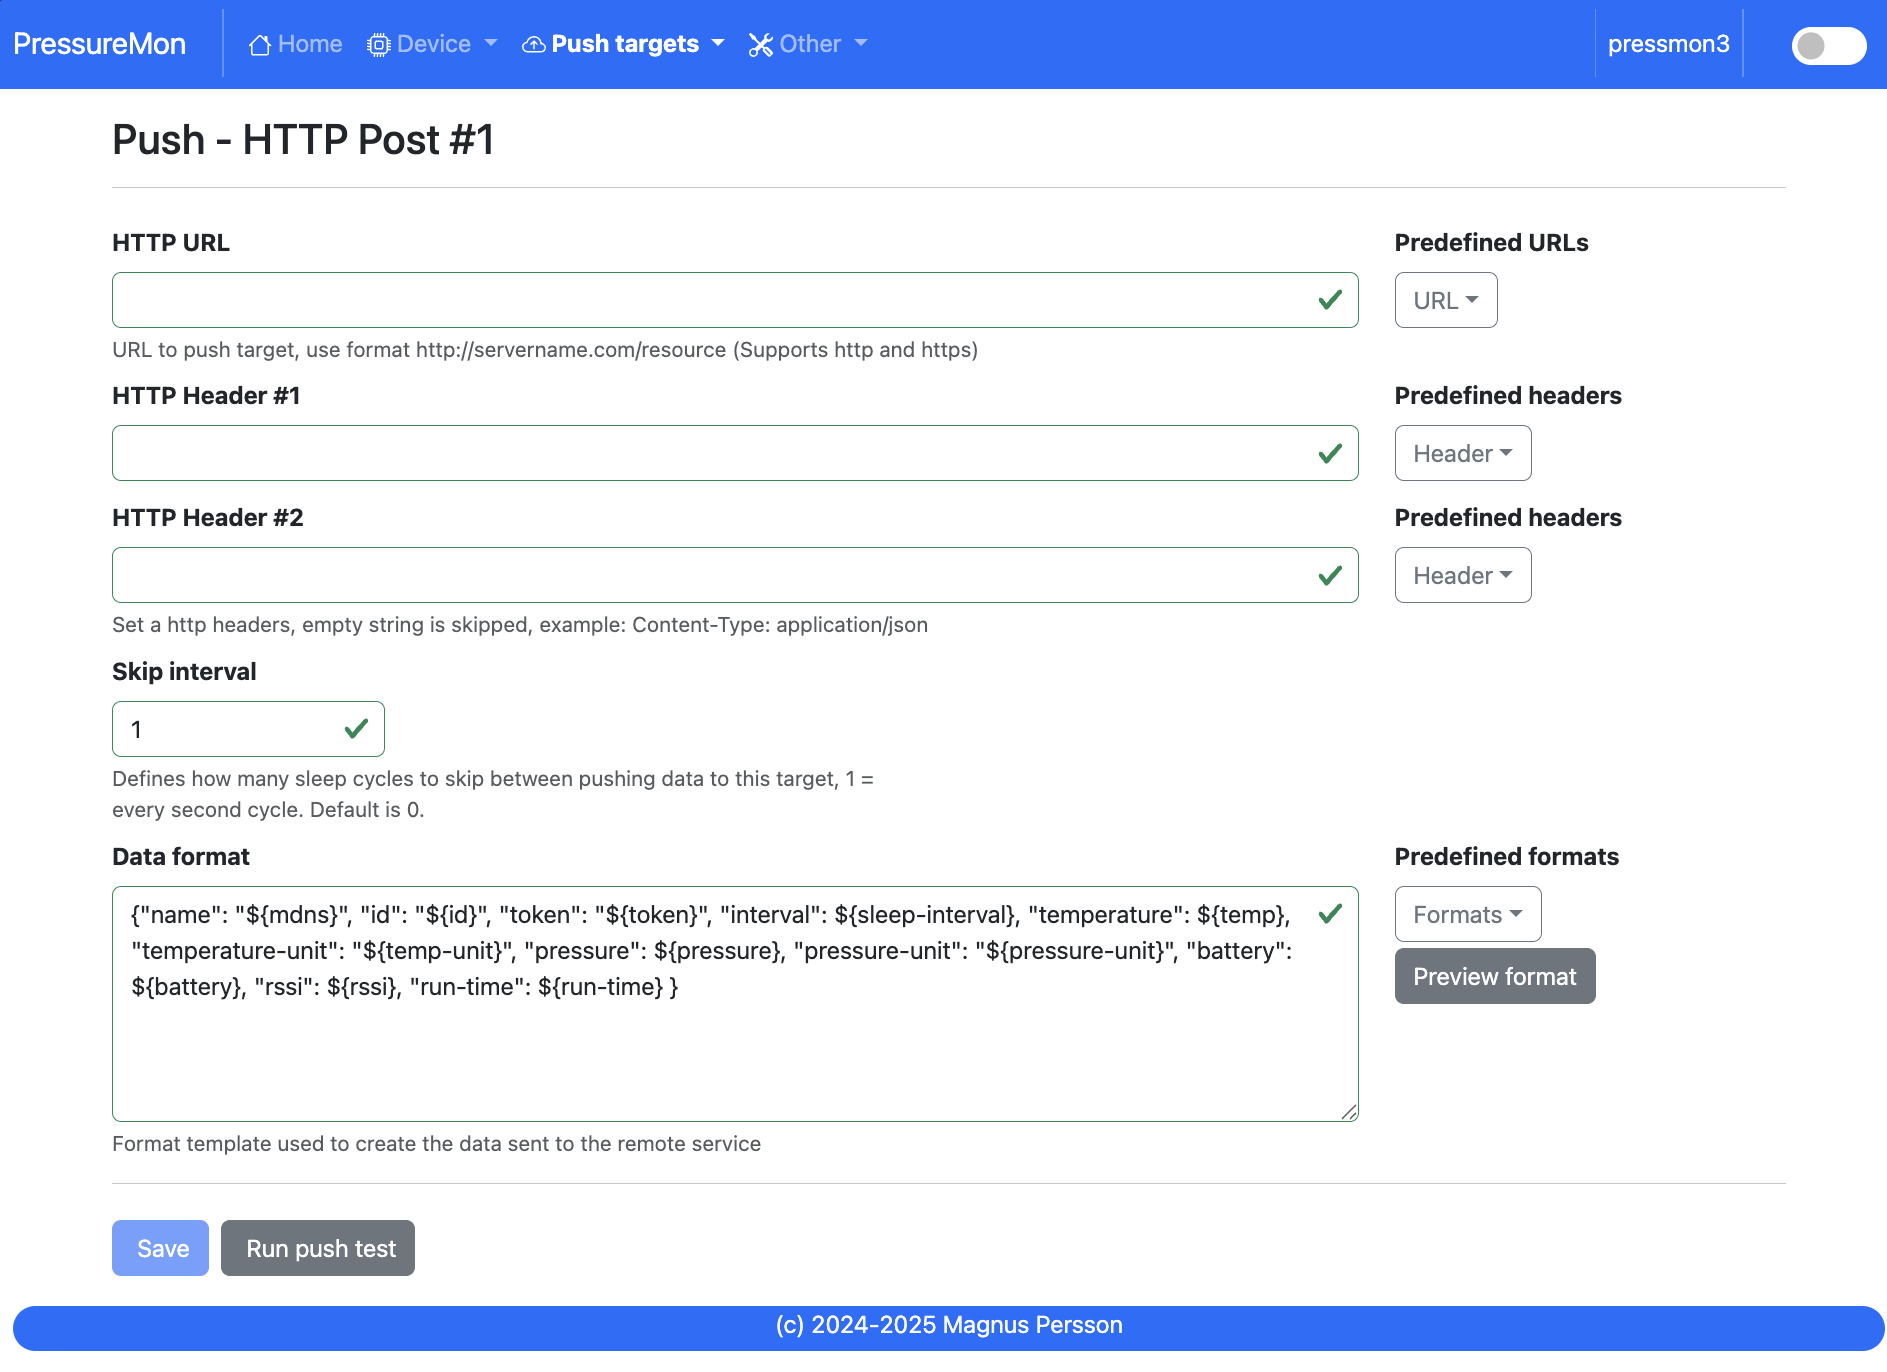
HTTP URL:
Endpoint to send data via http. You can customize the format below.
If you add the prefix https:// then the device will use SSL when sending data.
HTTP Headers
You can define 2 http headers. Enter a value or just select one from the list.
The input must have the format ‘<header>: <value>’ for it to work. The UI will accept any value so errors will not show until the device tries to push data.
Content-Type: application/json
X-Auth-Token: <api-token>
Mozilla has a good guide on what headers are valid; HTTP Headers
Skip Interval:
These options allow the user to have variable push intervals for the different endpoints. 0 means that every wakeup will send data to that endpoint. If you enter another number then that defines how many sleep cycles will be skipped for this target.
Data format:
Here you can customize the data format used when sending data to the server. You can either enter your own formula or choose one from the list. For more information on this topic, see Format Templates.
Note
If you right click in this field a list of available variables will be shown.
Push - HTTP Get
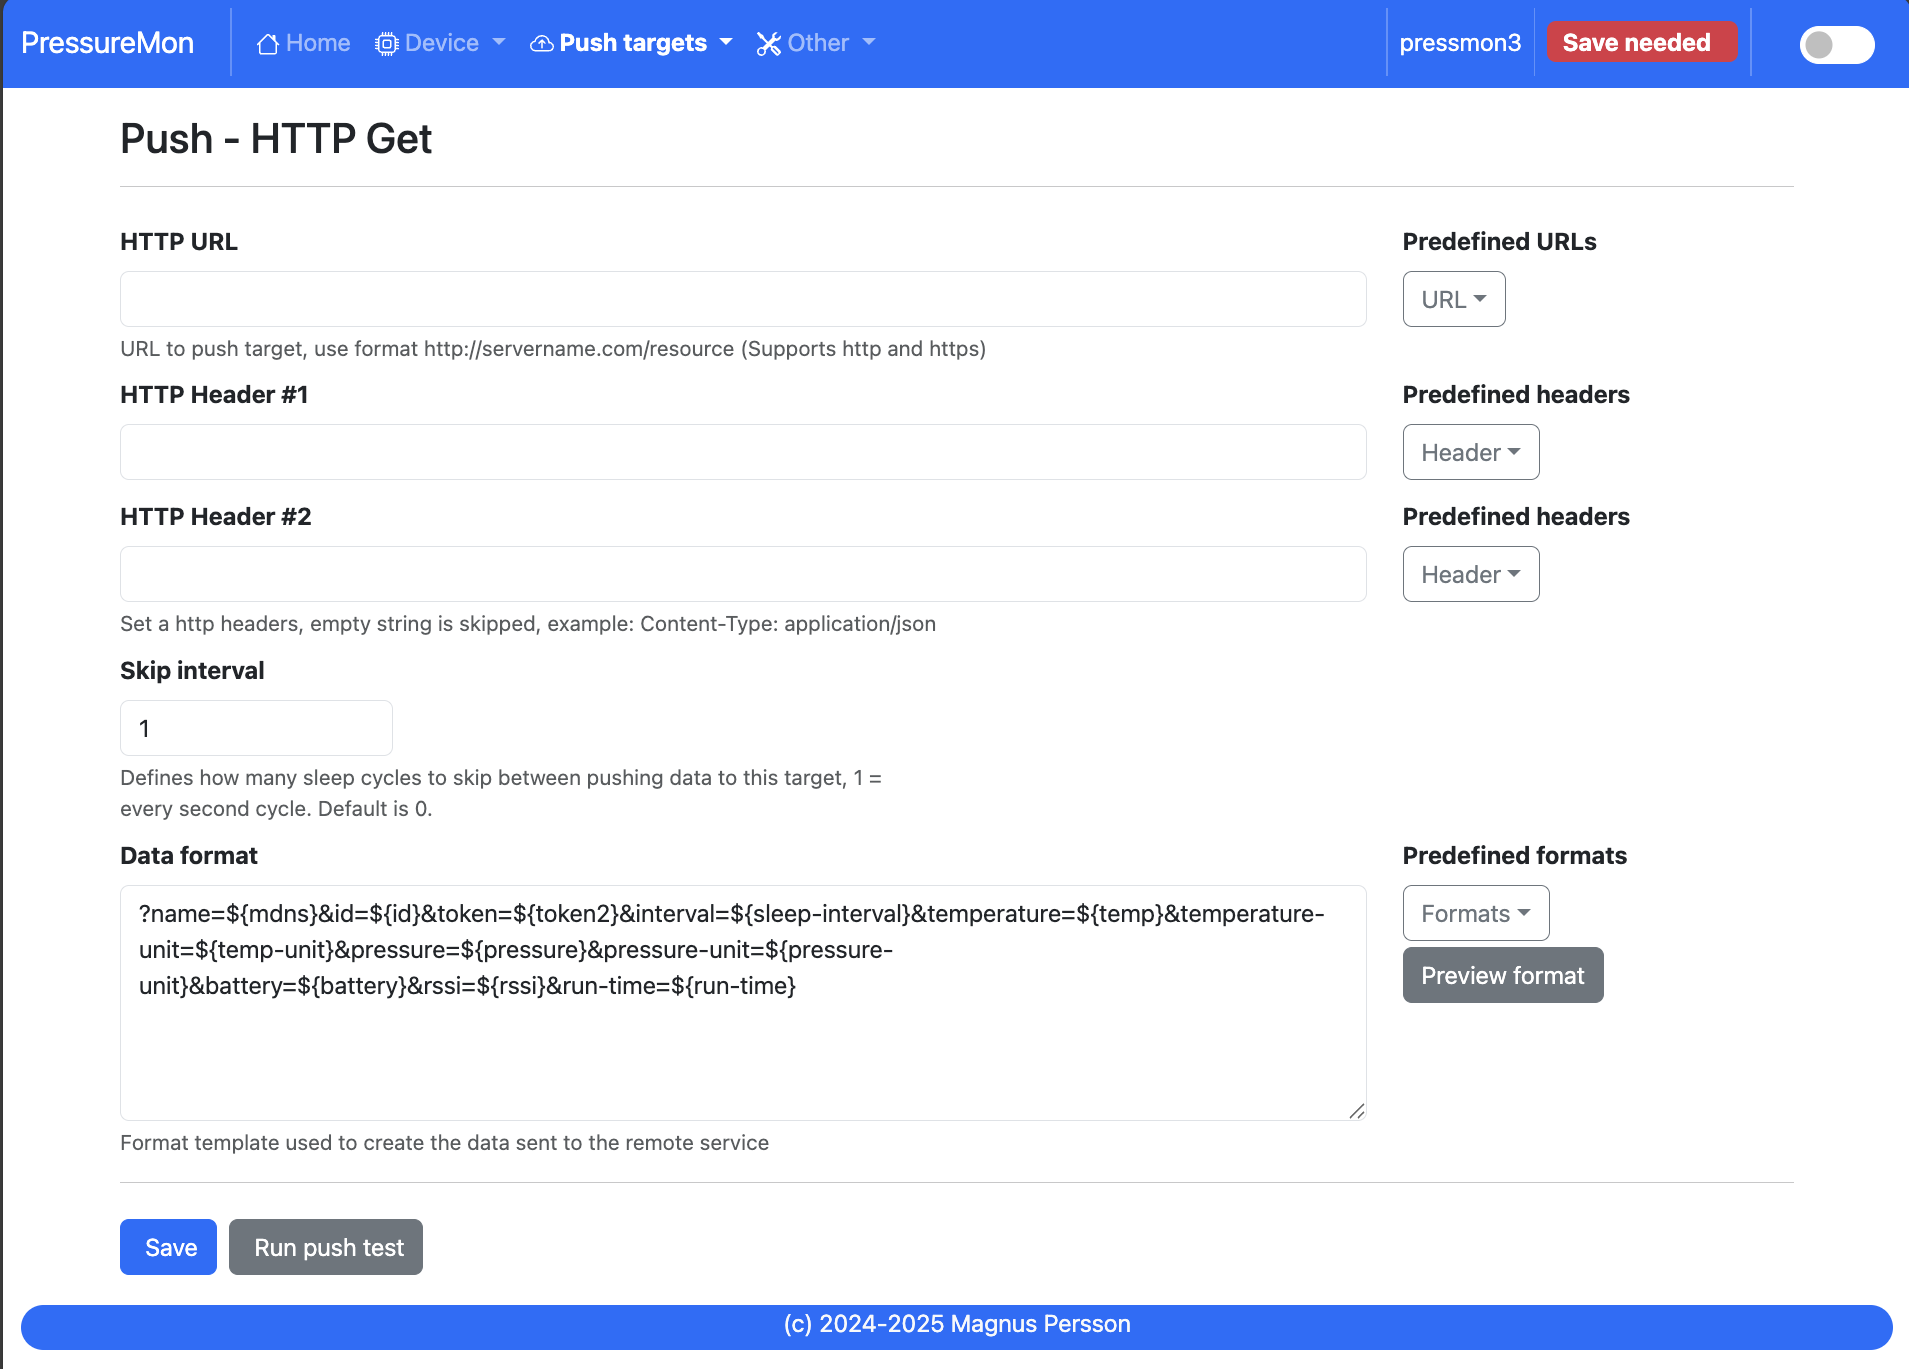
HTTP URL:
Endpoint to send data via http. You can customize the format below.
If you add the prefix https:// then the device will use SSL when sending data.
HTTP Headers
You can define 2 http headers. Enter a value or just select one from the list.
The input must have the format ‘<header>: <value>’ for it to work. The UI will accept any value so errors will not show until the device tries to push data.
Content-Type: application/json
X-Auth-Token: <api-token>
Mozilla has a good guide on what headers are valid; HTTP Headers
Skip Interval:
These options allow the user to have variable push intervals for the different endpoints. 0 means that every wakeup will send data to that endpoint. If you enter another number then that defines how many sleep cycles will be skipped for this target.
Data format:
Here you can customize the data format used when sending data to the server. You can either enter your own formula or choose one from the list. For more information on this topic, see Format Templates.
Note
If you right click in this field a list of available variables will be shown.
Push - InfluxDB v2
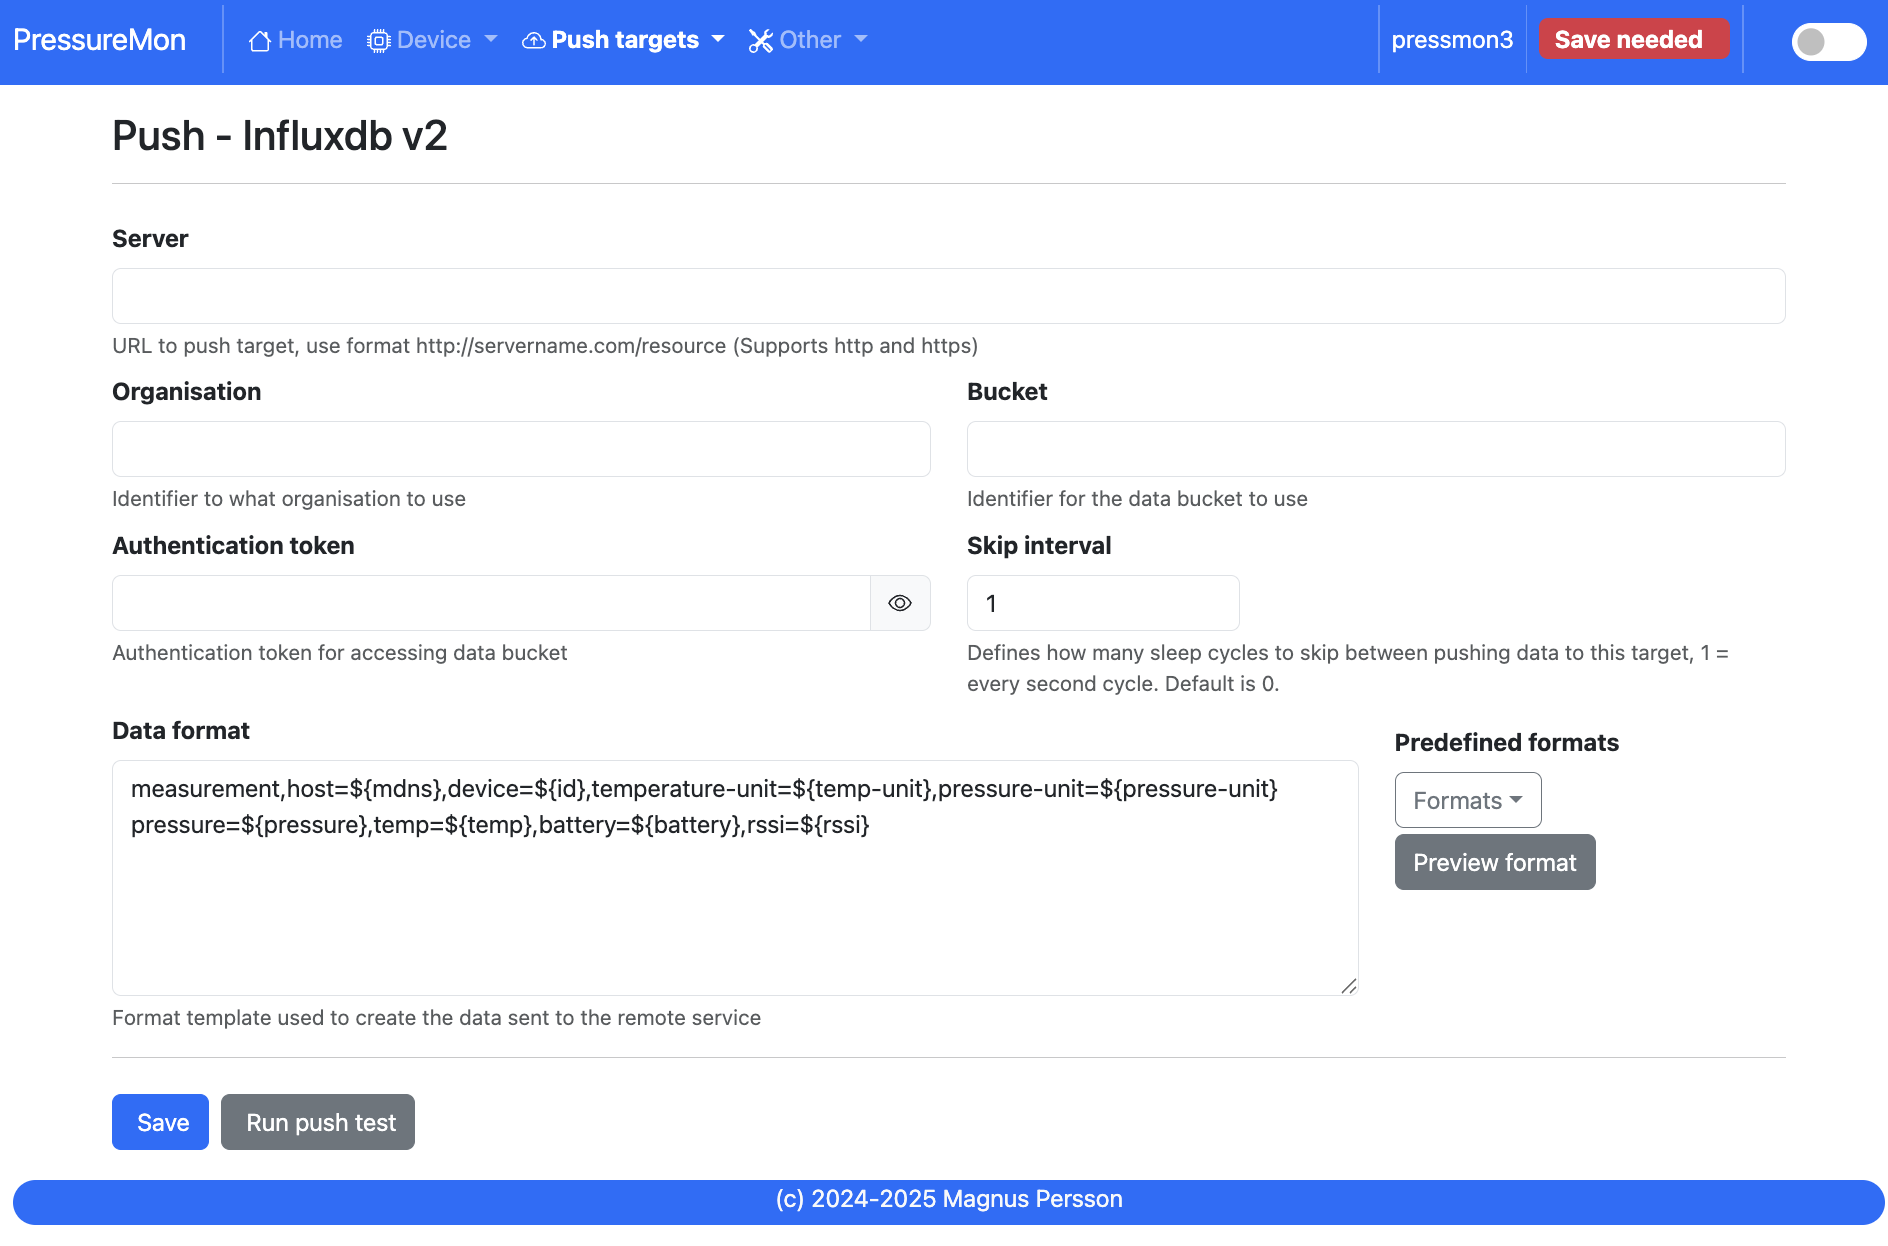
Server:
Endpoint to send data via http to InfluxDB. You can customize the format using Format Templates.
SSL is not supported for this target. Raise a issue on github if this is wanted.
Organisation:
Name of organisation in Influx.
Bucket:
Token for bucket. Don’t use the bucket name.
Authentication Token:
Token with write access to bucket.
Skip Interval:
These options allow the user to have variable push intervals for the different endpoints. 0 means that every wakeup will send data to that endpoint. If you enter another number then that defines how many sleep cycles will be skipped for this target.
Data format:
Here you can customize the data format used when sending data to the server. You can either enter your own formula or choose one from the list. For more information on this topic, see Format Templates.
Note
If you right click in this field a list of available variables will be shown.
Push - MQTT
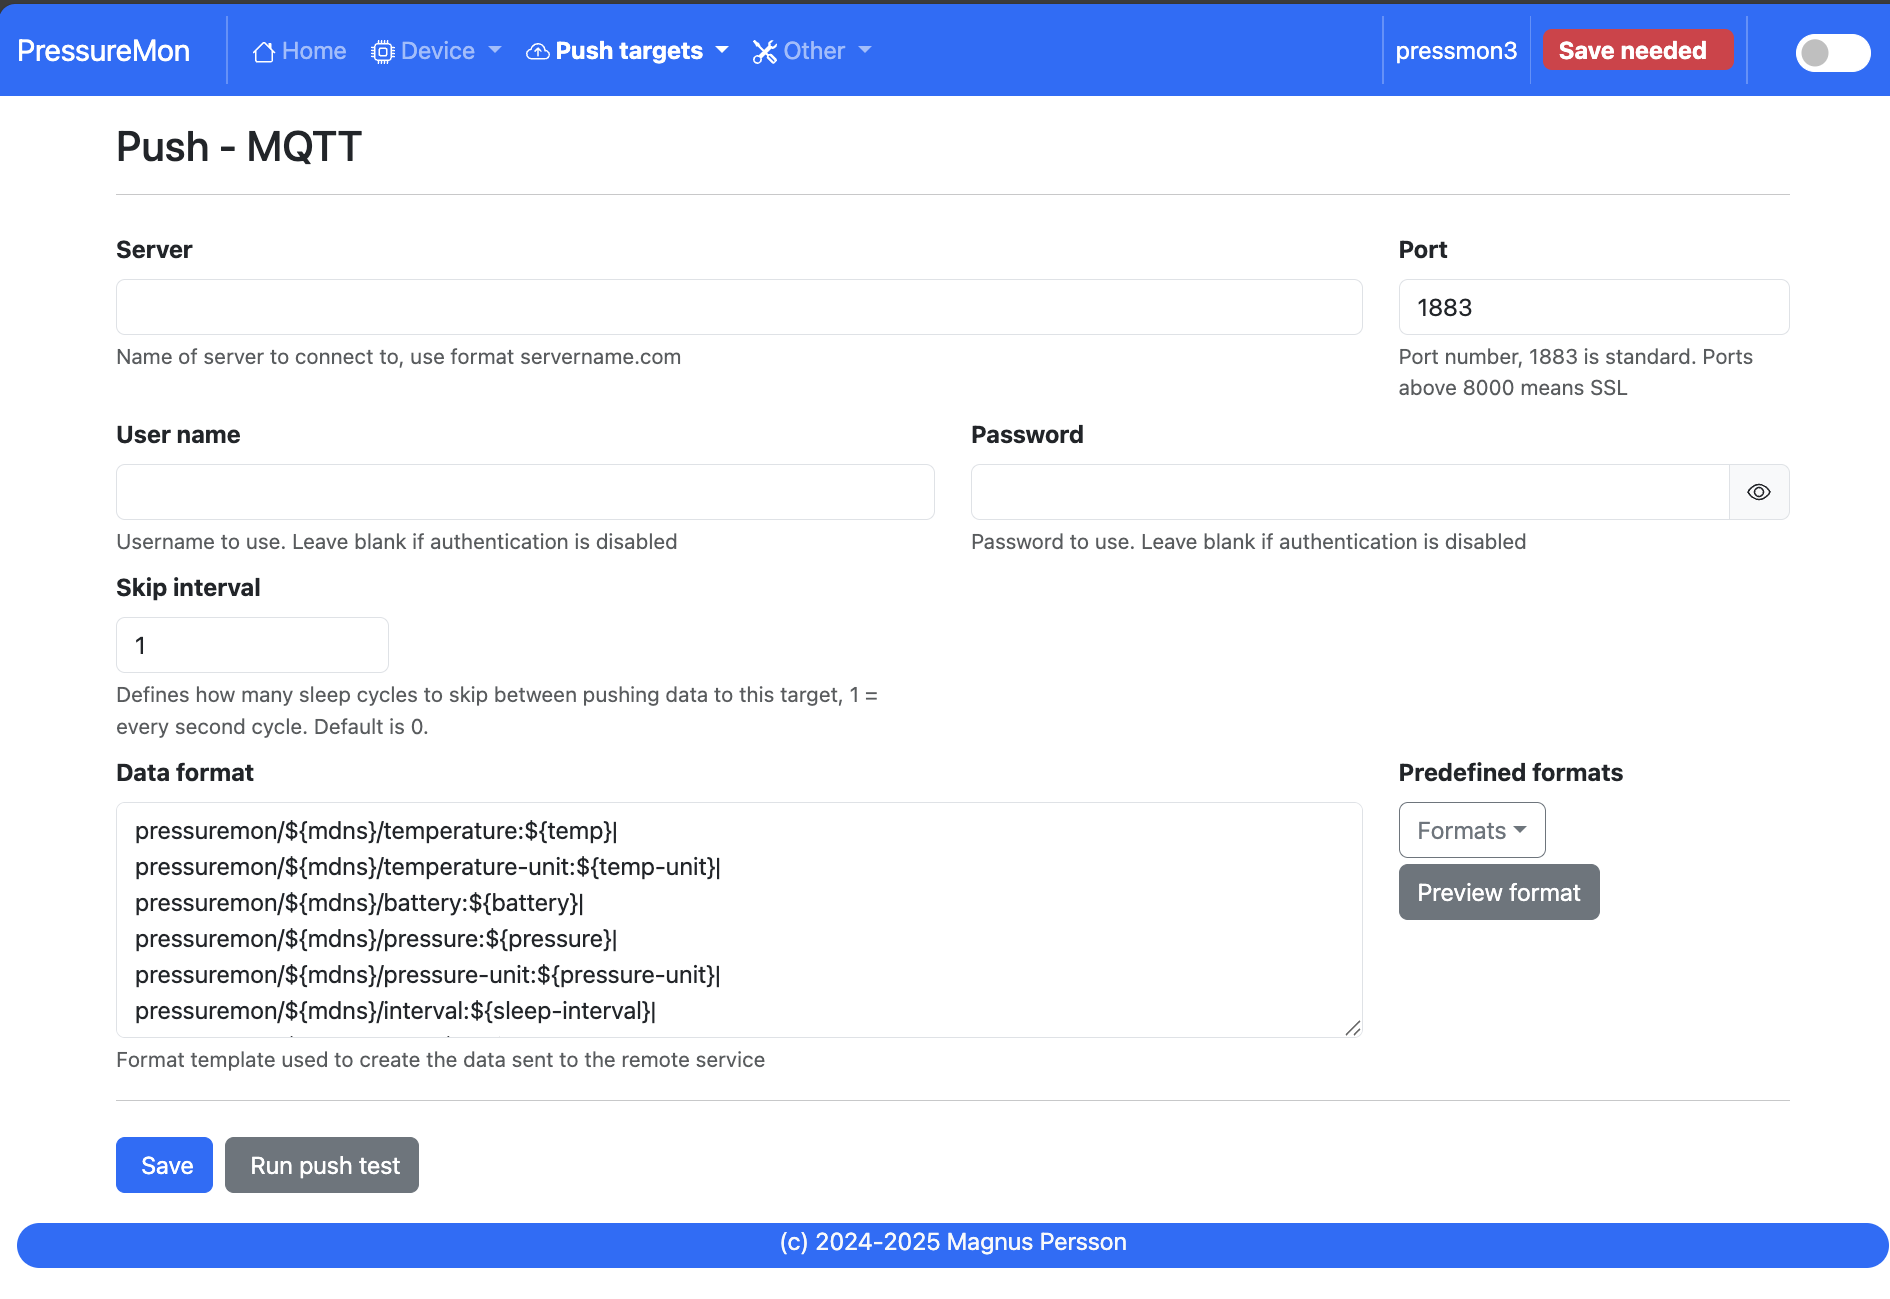
Server:
IP or name of server to send data to. You can customize the format using Format Templates.
Port:
Which port should be used for communication, default is 1883 (standard port). For SSL use 8883 (any port over 8000 is treated as SSL).
User name:
Username or blank if anonymous is accepted
Password:
Password or blank if anonymous is accepted
Skip Interval:
These options allow the user to have variable push intervals for the different endpoints. 0 means that every wakeup will send data to that endpoint. If you enter another number then that defines how many sleep cycles will be skipped for this target.
Data format:
Here you can customize the data format used when sending data to the server. You can either enter your own formula or choose one from the list. For more information on this topic, see Format Templates.
Note
If you right click in this field a list of available variables will be shown.
Push - Bluetooth
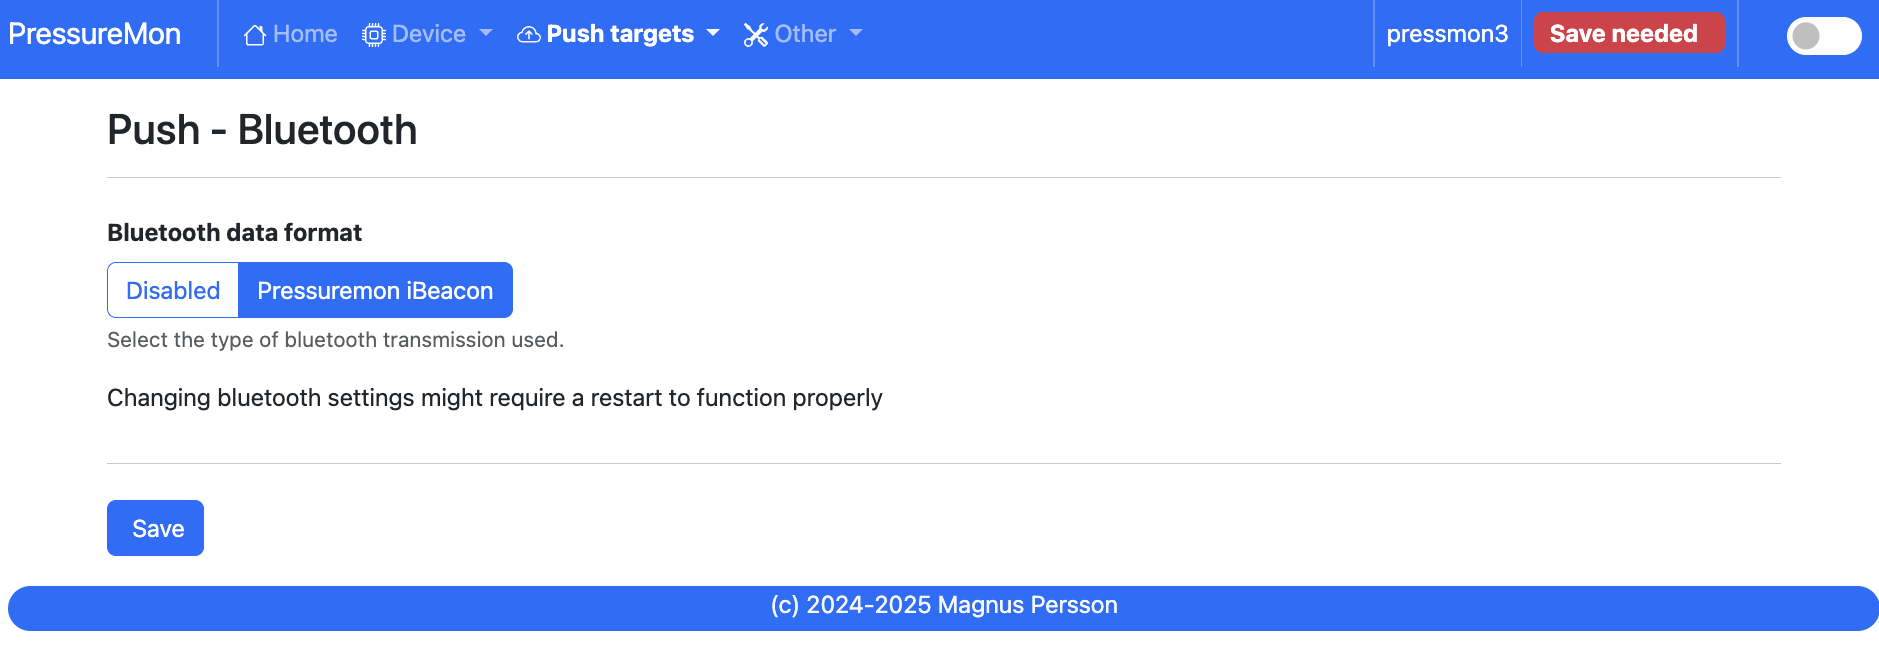
Bluetooth data format: (Only boards with BLE support)
Choose the bluetooth transmission to use.
PM iBeacon: Higher accuracy. Data: Pressure, Temperature, ID
PM EDDYSTONE: Beacon format that requires active scanning by the client. Data: Pressure, ID, Temperature
Other
Other - Serial
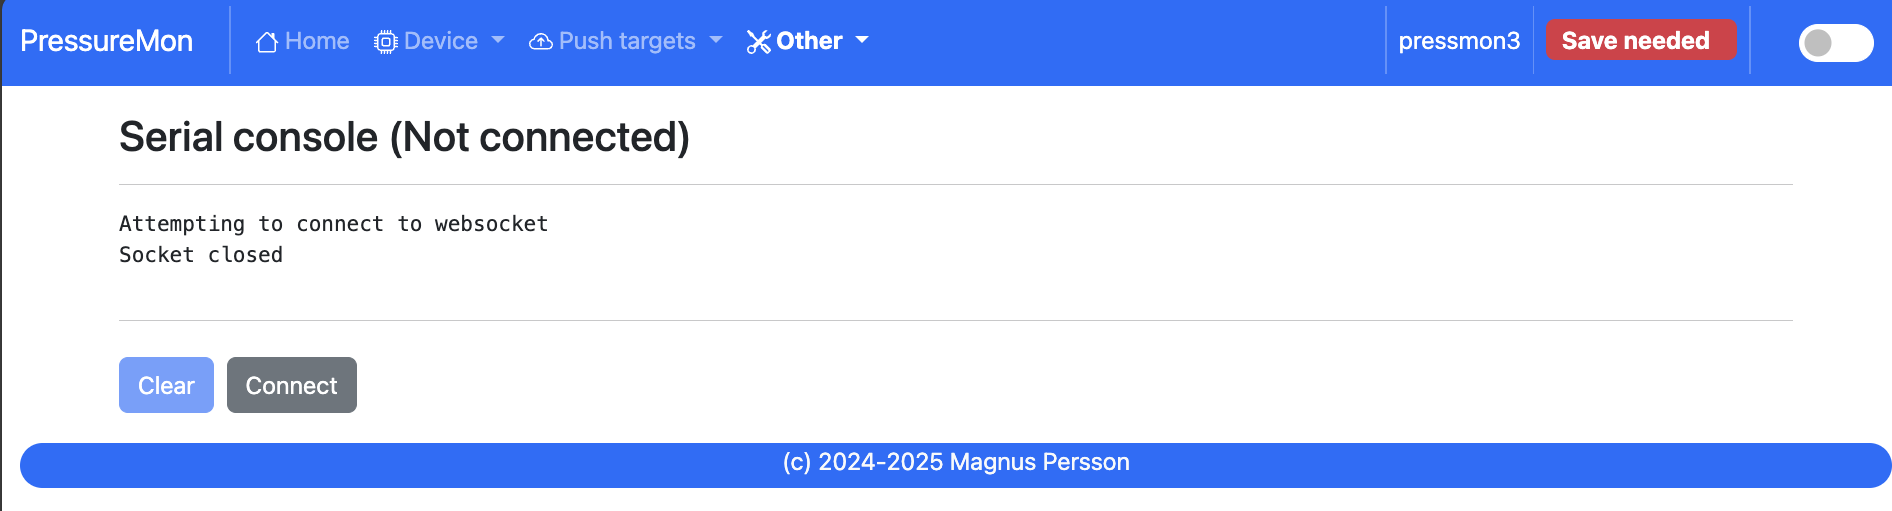
Connects to the device and shows the serial output, useful for debugging.
Other - Backup
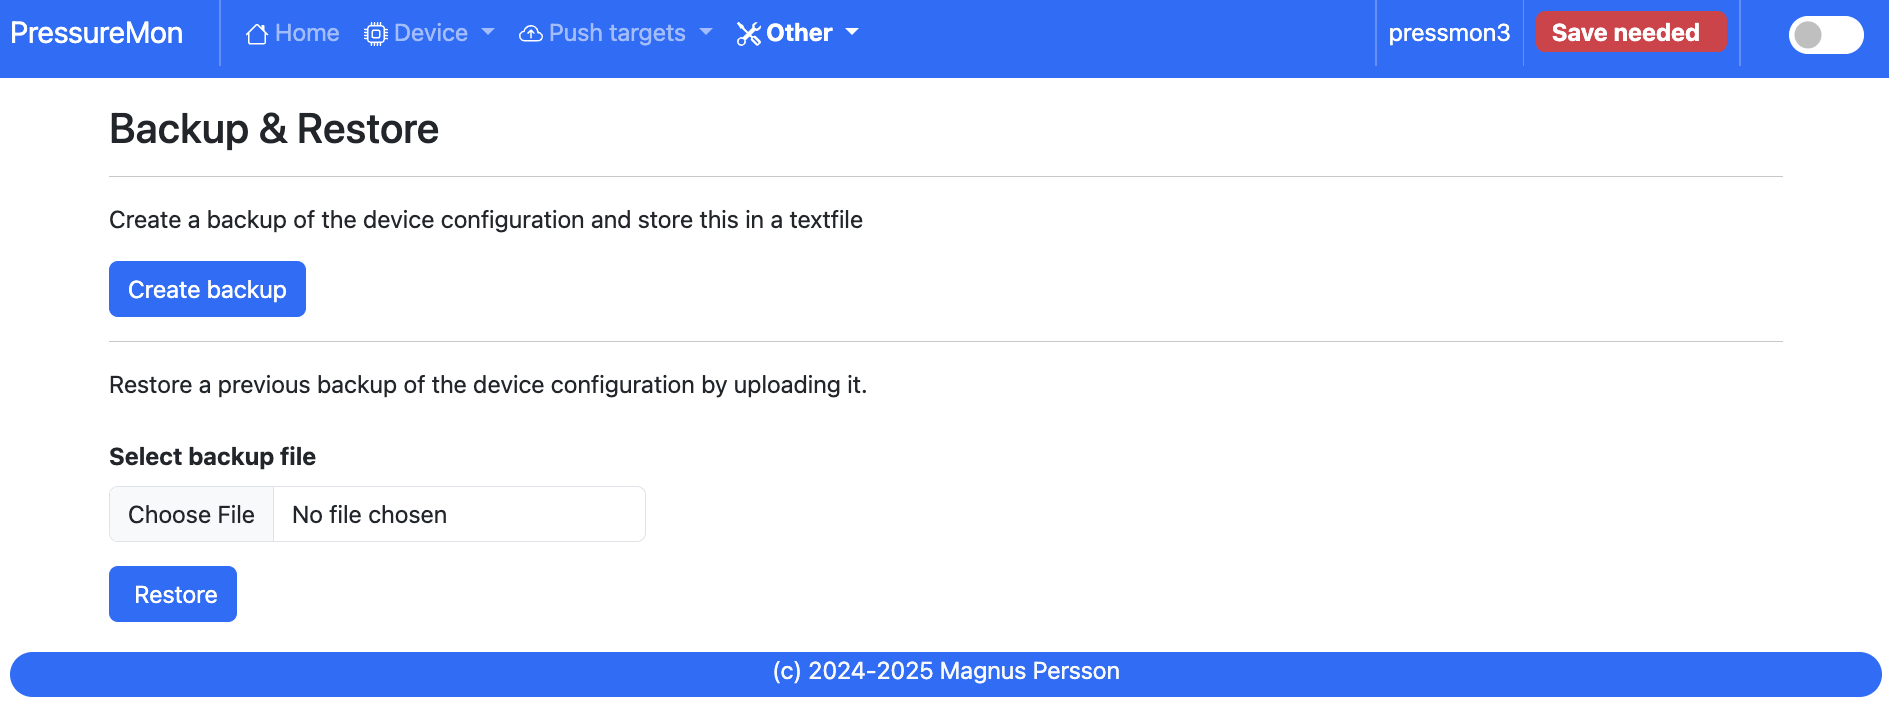
Here you can download a file with all of the device settings and also restore data if needed. Each file is unique for a device which is determined by the field “id”. Modifying this field will allow you to create a template that can be used on any device. This field is stored in more than one place of the file and all needs to be changed for this to work.
When downloading a backup the file will be named gravitymon<deviceid>.txt
Note
The gravity formula will be recreated if calibration points are available on the device, so the formula might be different than what is in the file.
Other - Firmware
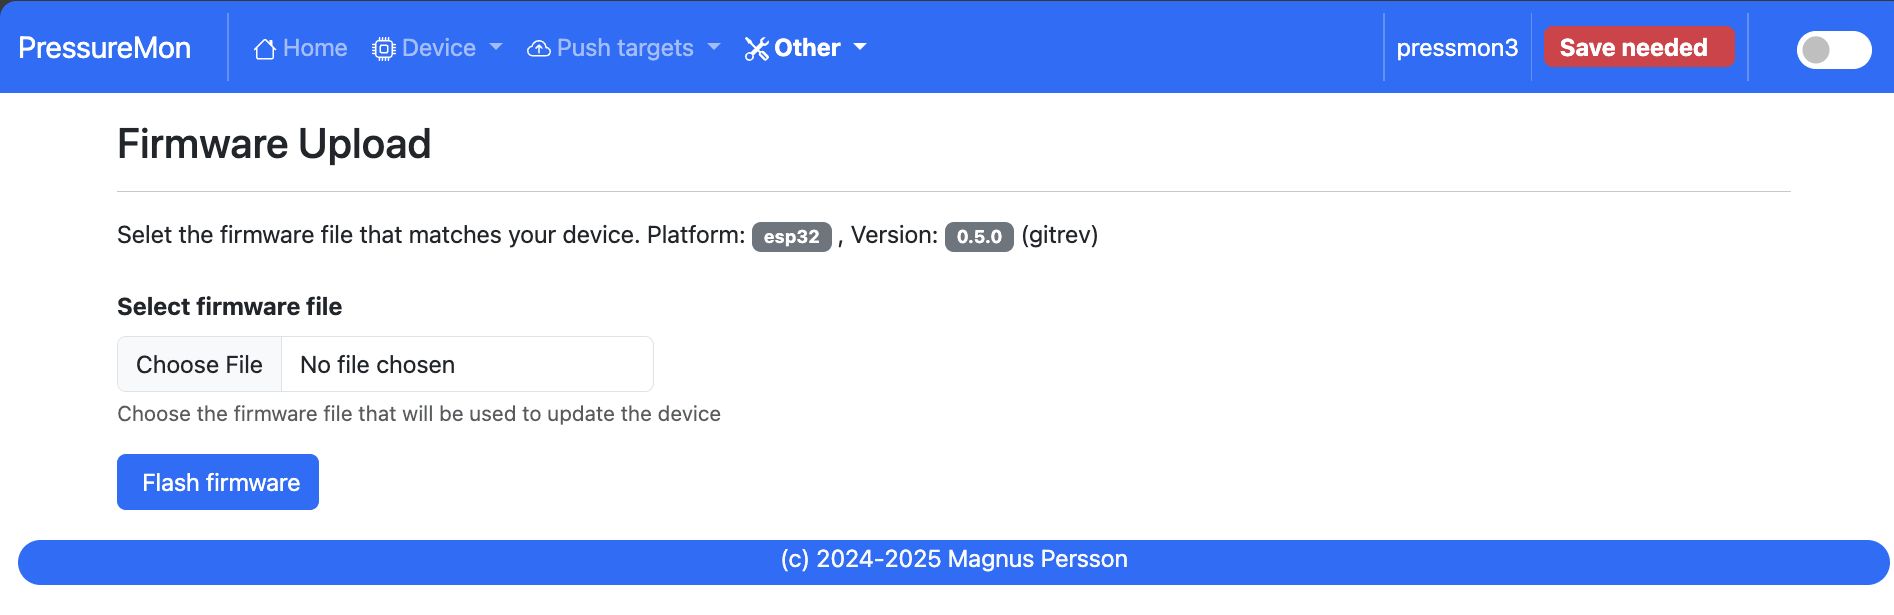
Upload Firmware
This option gives you the possibility to install an new version of the firmware (or any firmware that uses the standard flash layout).
Other - Support
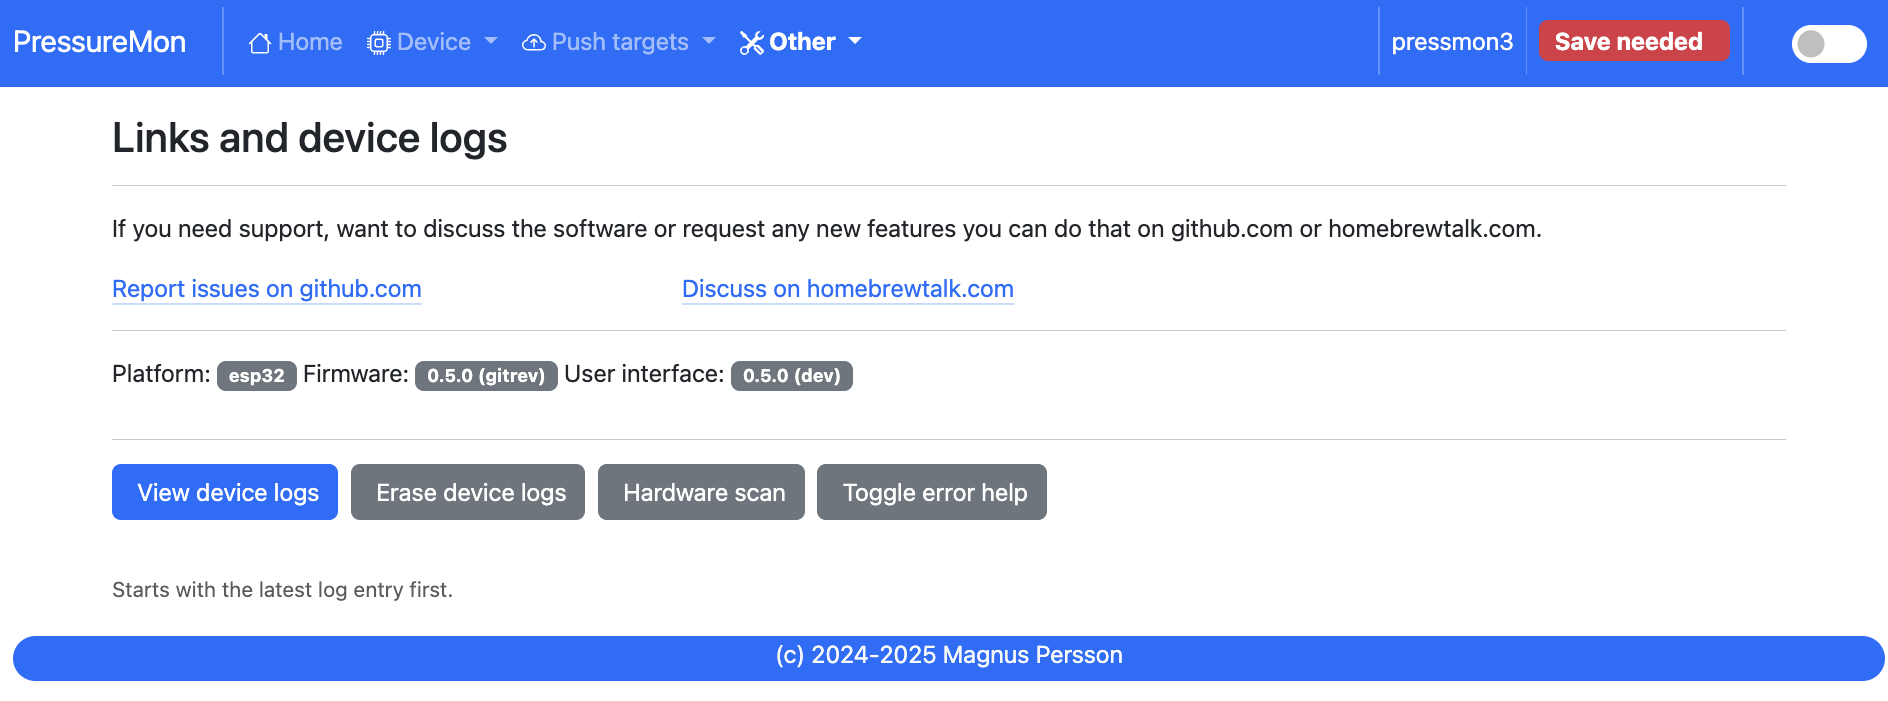
View device logs
Shows the log entires stored on the device, can also be used to delete the current logs.
Other - Tools
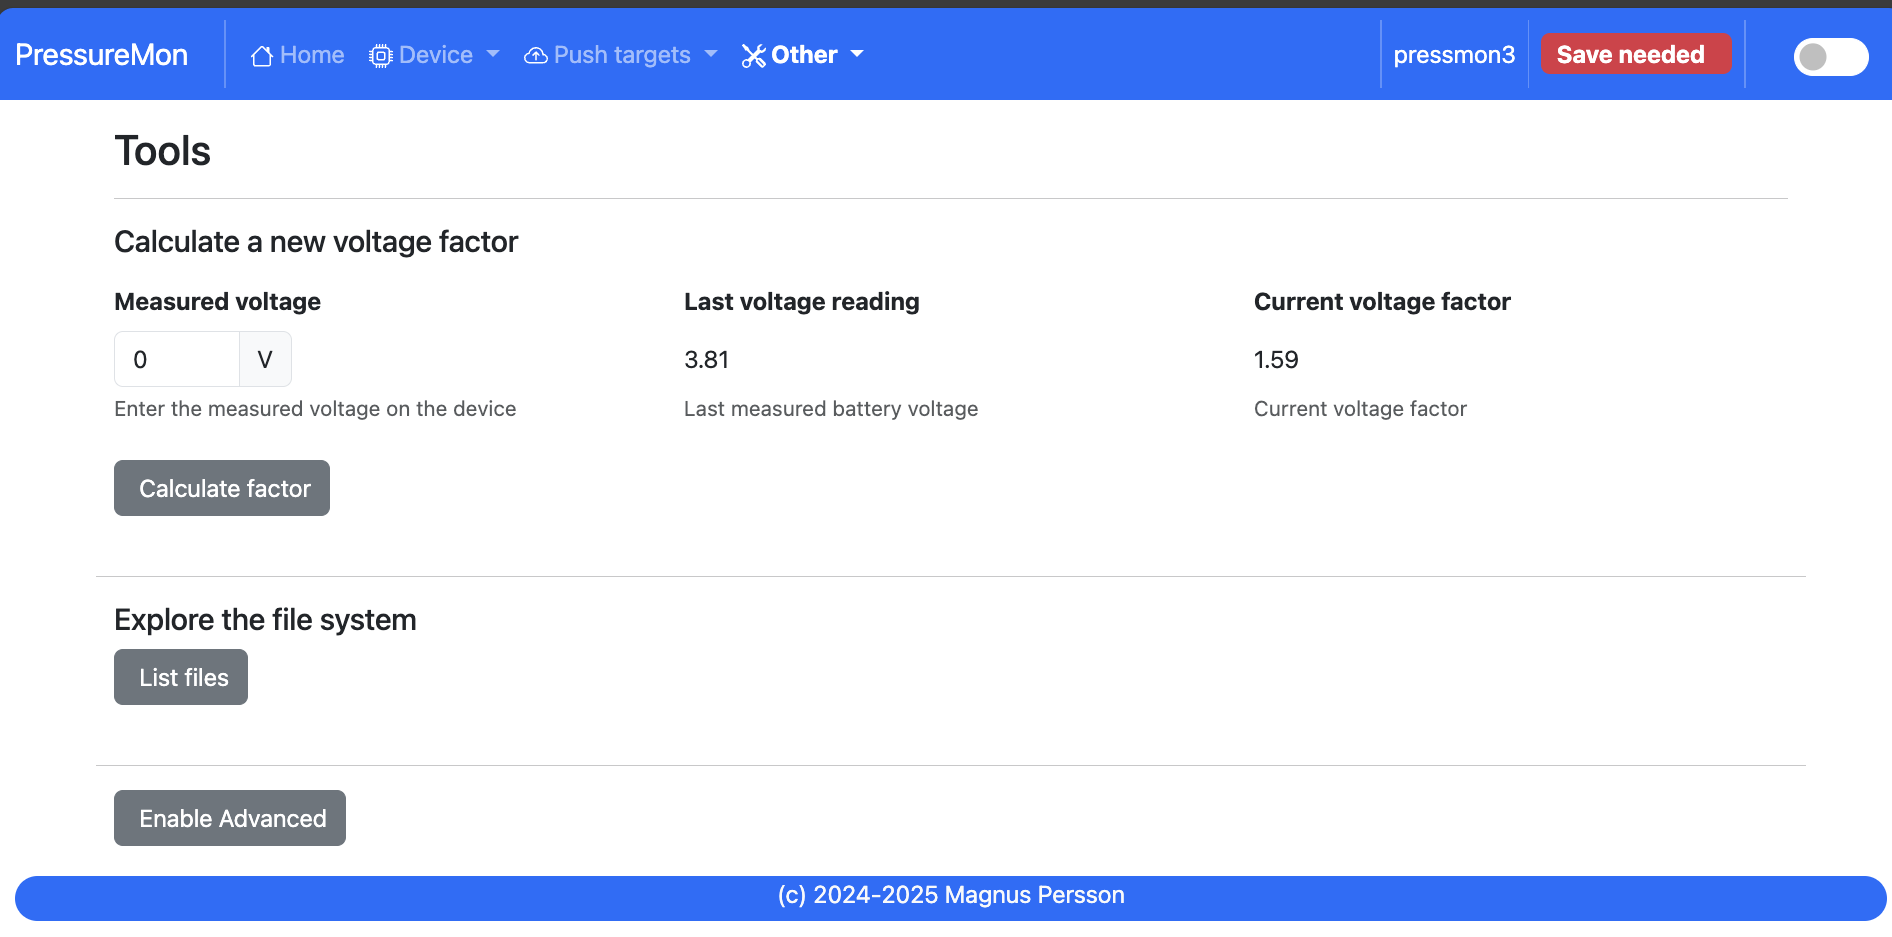
Calculate voltage factor
Can be used to calculate a new voltage factor based on measured voltage and current readings.
List files
Shows the files on the device and allows a user to show the contents of those files.
Other - About
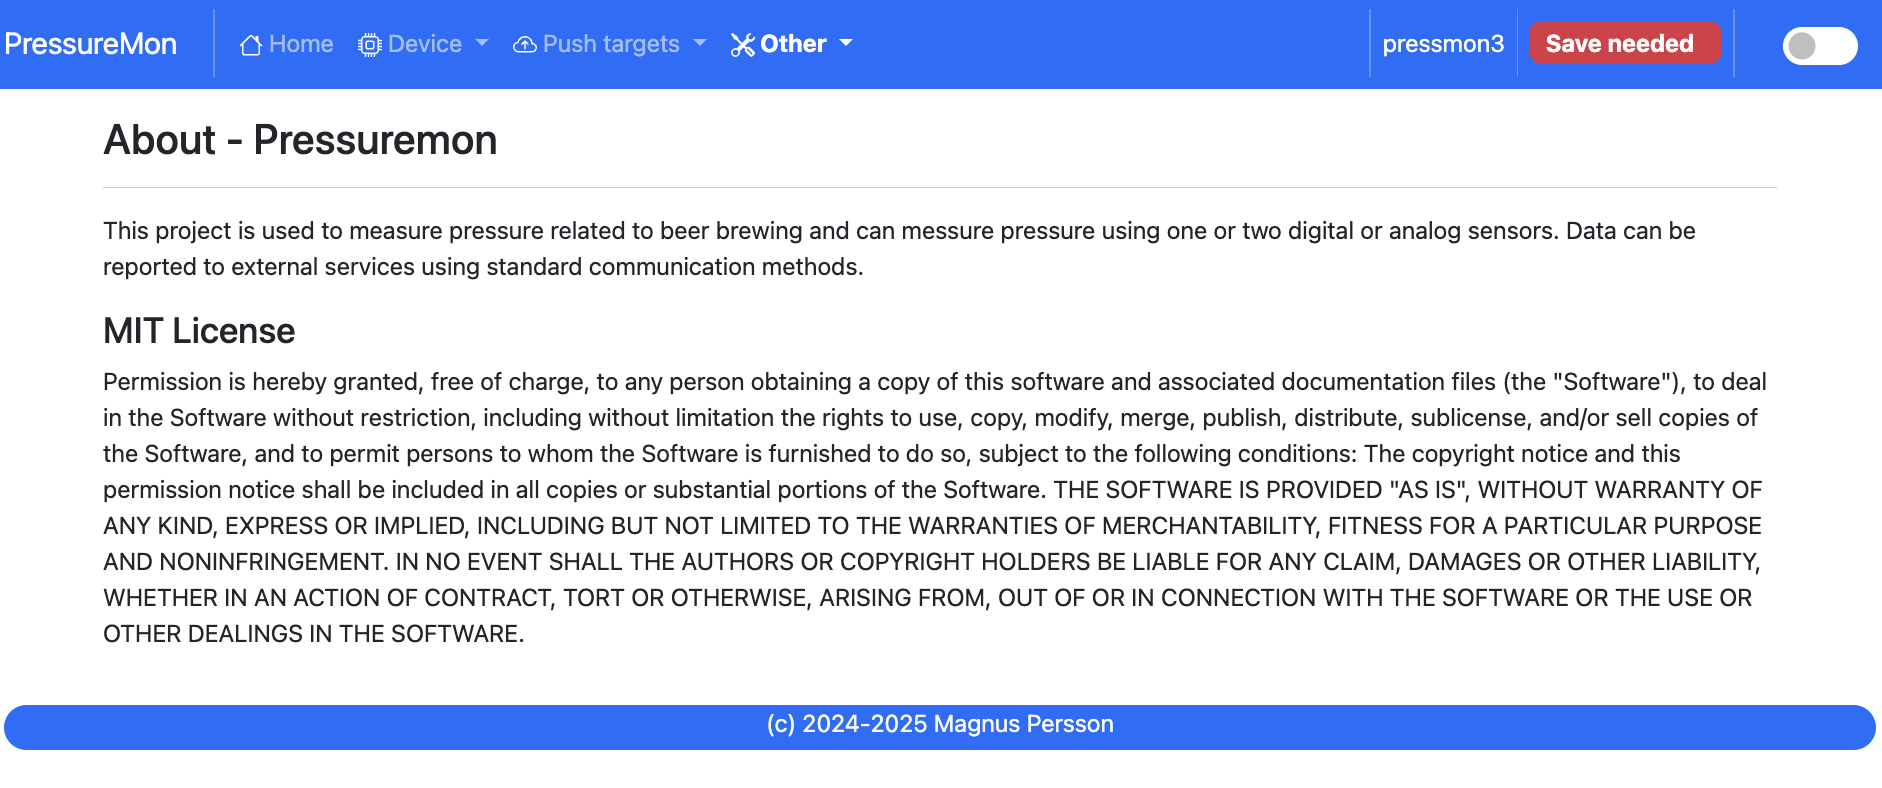
Shows information about the software