Software Installation
Gravitymon Web Flasher
This web flasher is for all my projects and this one also support configuring wifi over the serial connection. You will find it here: Gravitymon WebFlasher
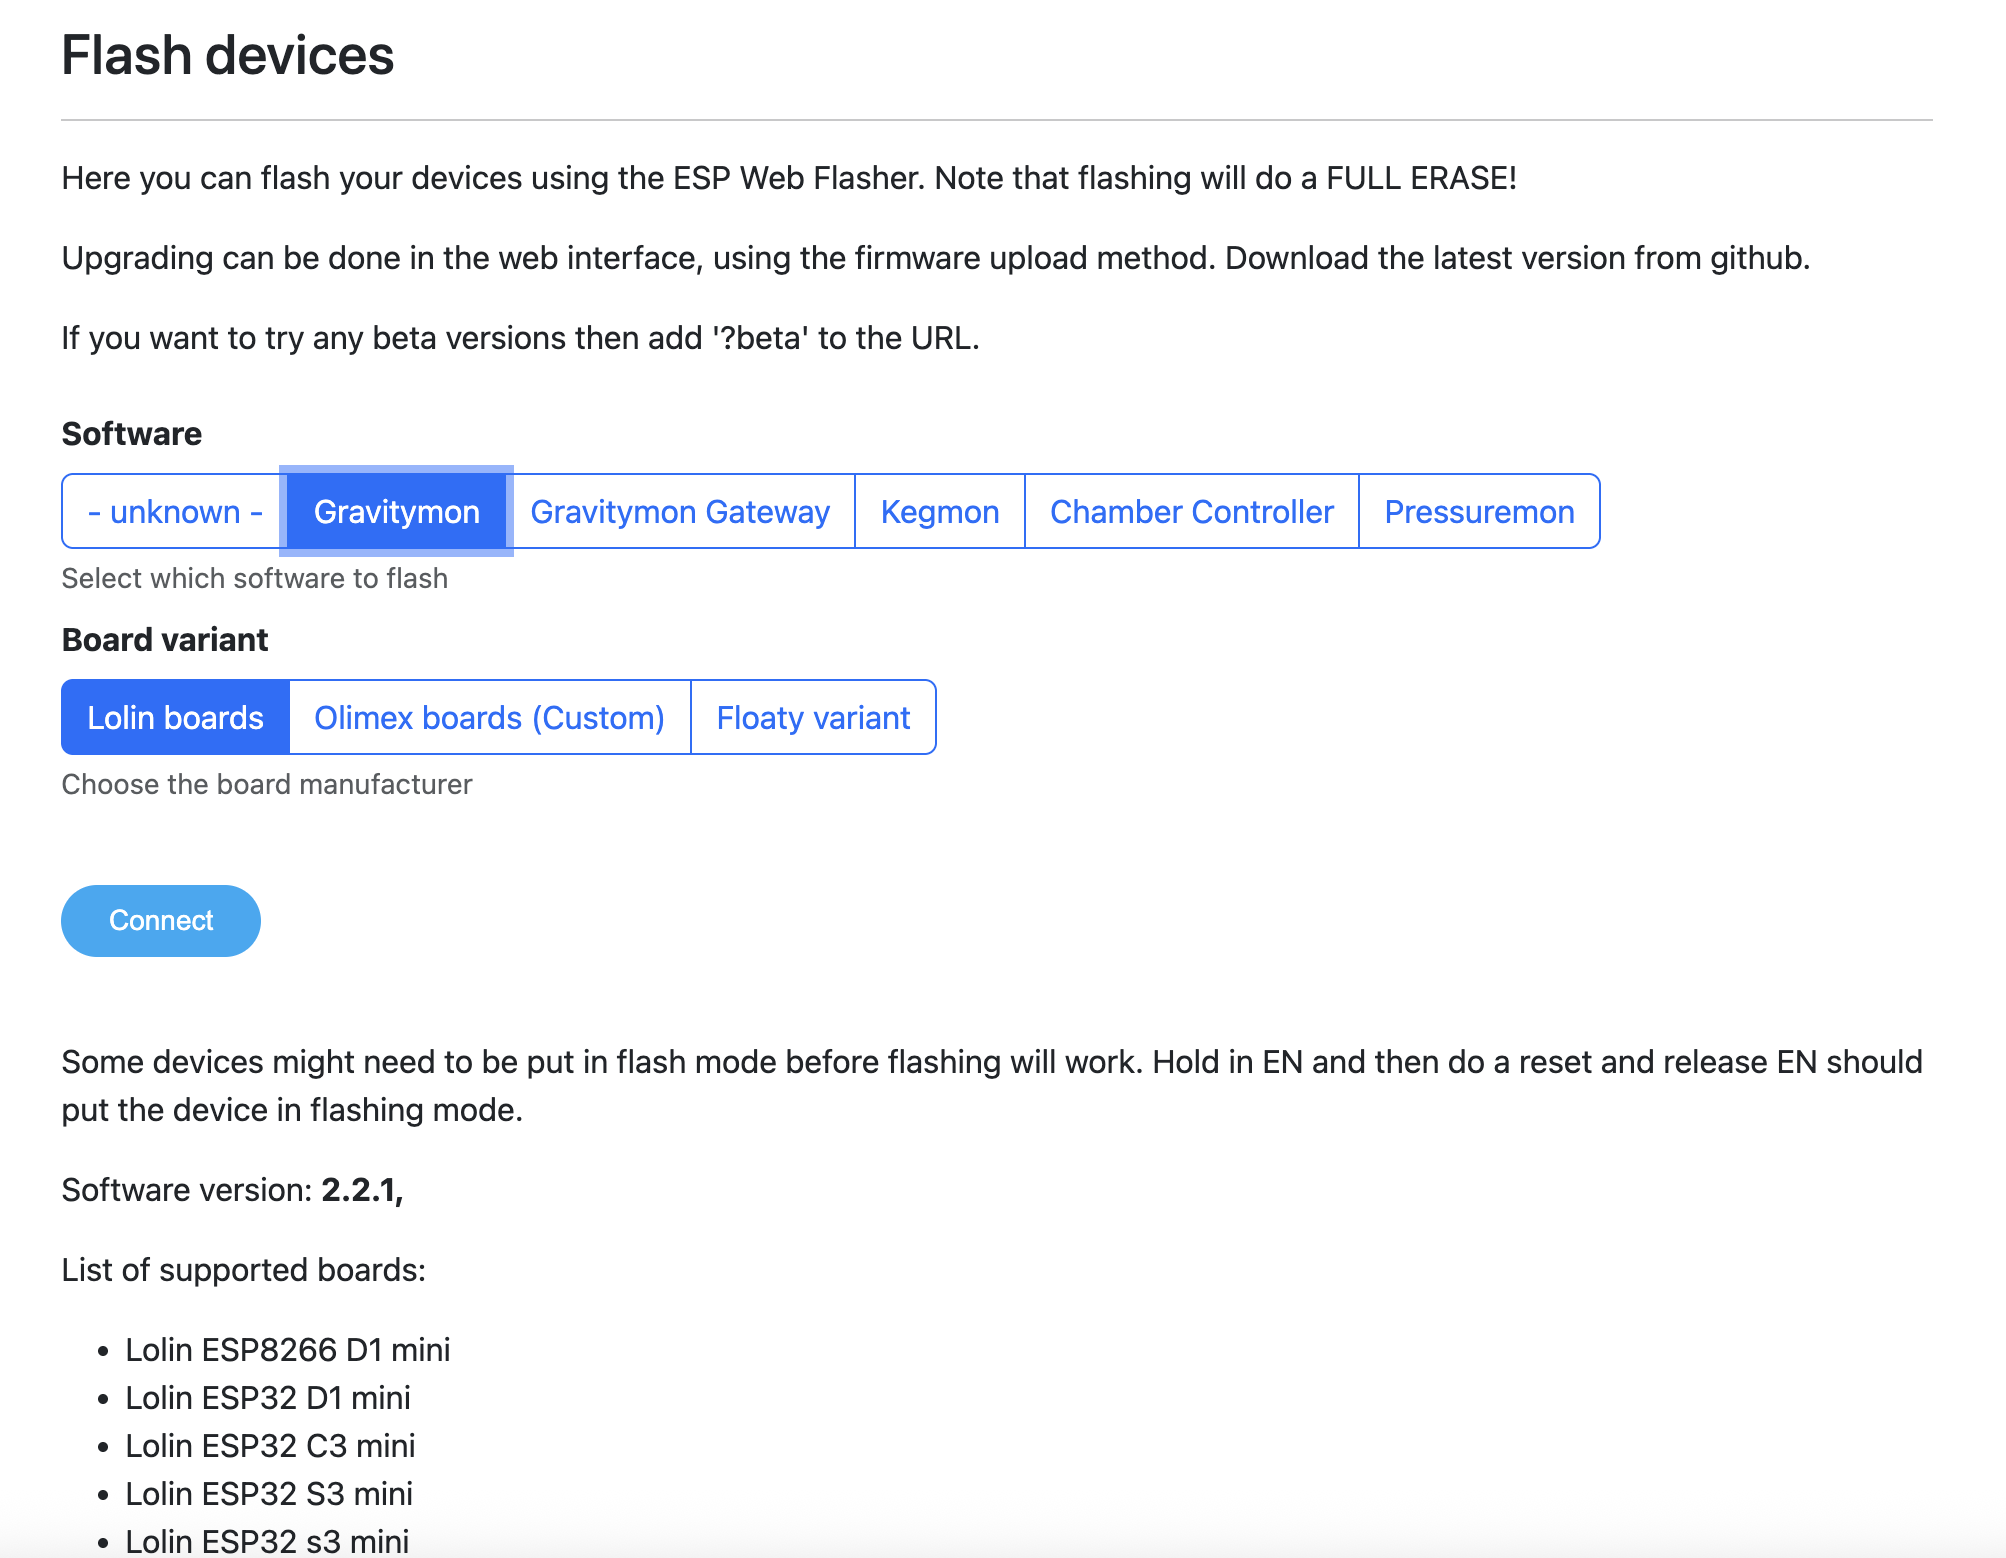
Just select the software to flash and what manufacturer the board has, then the flasher will use the correct binaries.
Warning
Using the web flasher will erase the full device before flashing so make sure settings are backed up. For upgrades use the firmware feature in the software.
Binaries
In the /bin directory you will find the following firmware builds;
firmware.bin
This is the standard release build for the ESP8266.
firmware32c3.bin
This is the release build for an ESP32c3-mini variant v2.1 or newer. When flashing an ESP32 you also need the partitions32c3.bin file that outlines the flash memory structure. Due to the size of the firmware we are using a custom partition setup. If you have a v1.0 board use the firmware32c3v1.bin instead.
firmware32s2.bin
This is the release build for an ESP32s2-mini variant. When flashing an ESP32 you also need the partitions32s2.bin file that outlines the flash memory structure. Due to the size of the firmware we are using a custom partition setup.
firmware32s3.bin
This is the release build for an ESP32s3-mini variant. When flashing an ESP32 you also need the partitions32s3.bin file that outlines the flash memory structure. Due to the size of the firmware we are using a custom partition setup.
firmware32c3zero.bin
This is the release build for a Waveshare ESP32c3 Zero variant. When flashing you also need the partitions32c3zero.bin file that outlines the flash memory structure. Due to the size of the firmware we are using a custom partition setup.
firmware32c3supermini.bin
This is the release build for a Tenstar ESP32c3 super mini variant. When flashing you also need the partitions32c3supermini.bin file that outlines the flash memory structure. Due to the size of the firmware we are using a custom partition setup.
firmware32c3cuckoo.bin
This is the release build for the Cuckoo Tilt device (ESP32c3). When flashing you also need the partitions32c3cuckoo.bin file that outlines the flash memory structure. Due to the size of the firmware we are using a custom partition setup.
Esptool (esp8266)
The other option for flashing esp8266 device is via the official esptool. Documentation can be found here; esptool home page
Windows 10 should install a driver for the USB -> Serial automatically when you connect a esp8266.
The basic command for flashing an ESP8266 on Windows is;
esptool.py --port COM4 write_flash 0x0 firmware.bin
The basic command for flashing an ESP32C3 on Windows is;
esptool.py --port COM6 write_flash --flash_mode dio 0x8000 .\partitions32c3.bin 0x10000 .\firmware32c3.bin
If there are issues you can try do erase the flash first using this command;
esptool.py --port COM4 erase_flash
iSpindel (esp8266)
If you already have the device flashed with iSpindel firmware you can go into the configuration mode where you will find an option for updating firmware. The option is under the maintenance menu.
Select the esp8266 version of the firmware called firmware.bin and press upload.
If you do an update this way GravityMon will notice that there is a stored configuration file and you will get the option to do a migration of the gravity formula and gyro calibration values so you don’t need to do a new calibration.
Updating firmware
You can use the above options for updating the firmware as well. But if you want to do updates without connecting the USB cable these are your options.
OTA Option
You can use the OTA option by adding this URL to your configuration and when the device starts up in configuration mode it will check for a new version and if it finds a newer version it will do an update.
https://gravitymon.com/firmware/
Manual update
When the device in is configuration mode you can manually update with a new firmware. Just open this URL in the web browser and select the firmware.bin file that corresponds to the version you want to flash.
Serial Monitoring
To check output from the device (logs) there are several tools out there. I found this simple tool in the Windows Store called Serial Port Monitoring.
Just select a baud rate of 115200, 8N1.
WIFI compatibility
The esp has limited wifi support and still relies on old standards so these are a few things to consider on the wifi setup.
Don’t use space in your wifi SSID or wifi password
Only supports 2.4Ghz bands, channels must be 1-13, other channels are not supported (In 802.11 b/g/n modes)
Channels between 20-25 Mhz bands
SSID must be visible (hidden SSID dont work)
Source: https://www.espressif.com/sites/default/files/esp8266_wi-fi_channel_selection_guidelines.pdf
Configuring WIFI
When the device is flashed it will need to have WIFI configuration in order to work. If you have used other software on the device its possible that wifi settings already exist.
If you need to enter the WIFI setup mode after it has been configured, tap the reset button at least 3 times. Tap the reset button in 1-2 second intervals. Not to fast and not to slow.
If this is not configured in the device it will create an wireless access point called GravityMon. The default password is password.
Connect to this AP and enter the SSID and password you want to use. If the web page don’t open automatically you can enter the following address in the browser: http://192.168.4.1
WIFI settings can be found under Device - WIFI in the menu.
Finding the device adress
Once the wifi network settings have been added then the device will reboot and connect to your network. If the blue led is flashing then it’s up and running and is ready to be configured.
If your computer supports mDNS the address you saw before can be used in your web browser to connect to the device. Windows does not have the best support for mDNS so if you are having issues with finding the network name you can try the following:
Check your wireless router for the IP address and use that to connect instead, for example; http://192.168.1.56
Download an IP scanner / Port Scanner on your Windows computer or mobile device and use that to find what devices are listening on port 80.
Once you can access the user interface then proceed to the next step.